Split View Container Page |
  
|
Split View Container Page |
|
Split View page allows user to split the page in horizontal and vertical sections or sub pages. User can then drag all types of pages onto these sections i.e each section is independent to each other. After assigning page types to these sections, user can open these pages by double clicking the container of Split view page, add UIParts and modify their properties or perform things as per the requirements.
Follow below steps to create a Split View page.
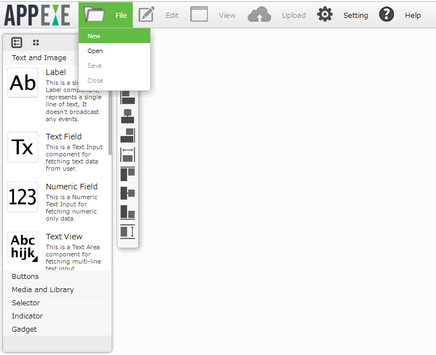
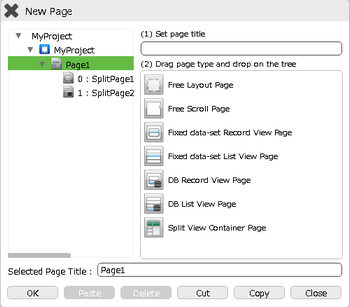
Step 1: Click on "New" from the menu to create a new Page.
Step 2: Enter name of the page in "Set Page Title" section and select the Split View Container Page.
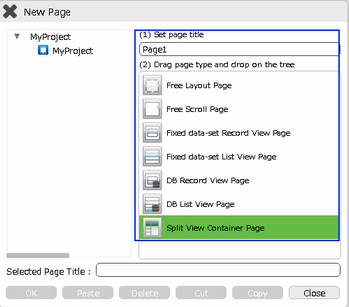
Step 3: Drag and drop it on the "App Title Folder" onto the tree and click OK to open the page.
Step 4: Split View Container Page and its "Properties Palette window" opens up.
Splitting Page
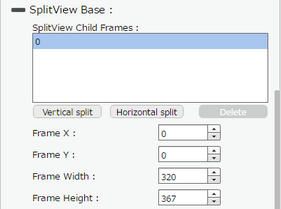
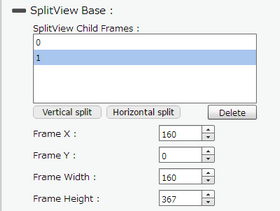
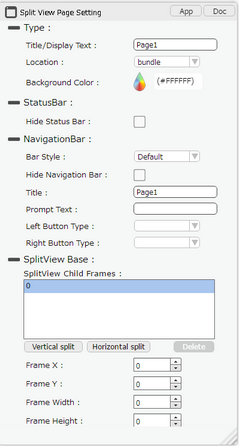
Step 1: In Split view Base property, user can add vertical or horizontal child frames using "SplitView Child Frames" property
Horizontal Split Button : Splits the currently selected frame available in the list horizontally.
Vertical Split Button : Splits the currently selected frame available in the list vertically.
Delete: Allows to delete the the currently selected frame available in the list.
Step 2: User needs to assign the Pages to the horizontal/vertical pages created in the previous step.
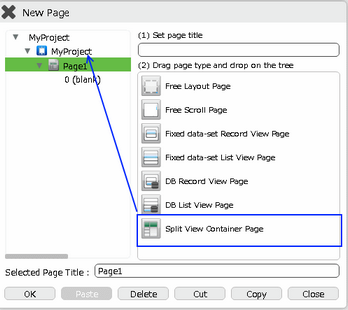
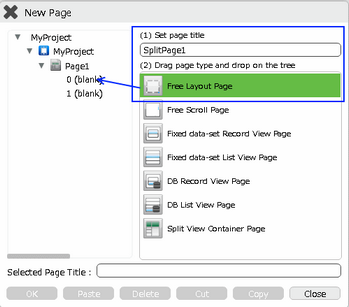
i) Close the Page and open the "New Page Selector Window" as shown in the figure.
ii) The horizontal/ vertical frames created can be seen here as 0(blank) and 1(blank) so on.
iii) Enter "Page title" and drag any "Free Layout Page" to first blank frame available.
Step 3: Enter "Page title" for second frame and select any other page type for e.g "DB List View Page".
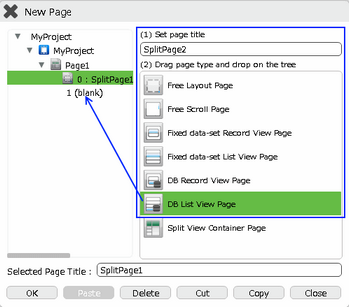
Step 4: Drag it to the second Frame.
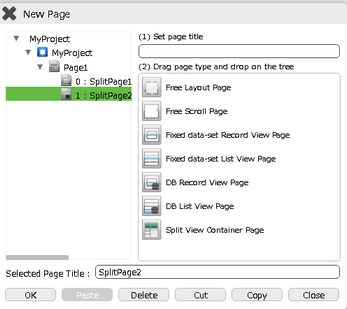
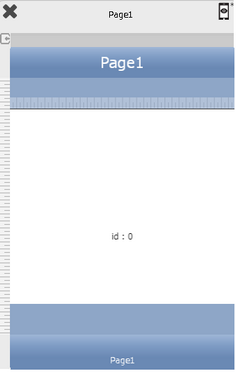
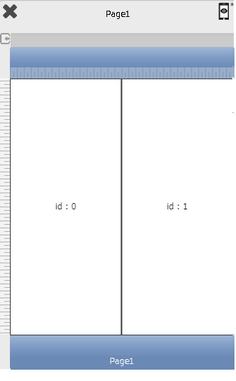
Step 5: Click on "Page1" to open the Page.
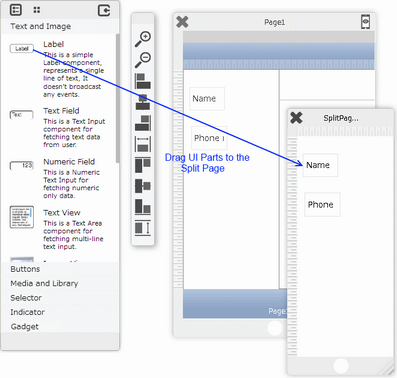
Adding UI Parts to Pages
Step 1: Double Click on the Frame to open the respective Page.
1. Add UI Parts to that frame page.
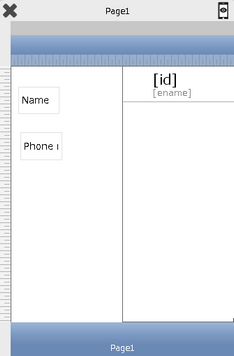
2. Set the properties of "DB List View Page" from the properties palette.
Add actions as required, click here for more information.
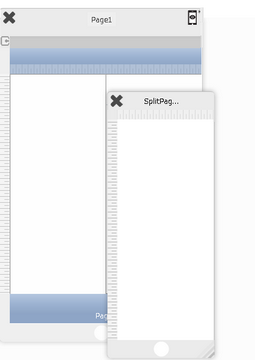
Step 2: The Page appears as below showing the Pages of frame1 and frame2.
List of Properties:
Property |
Description |
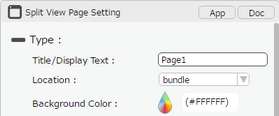
Type
App and Doc Buttons opens Page Document Editor. Click here to know more. |
|
Title/Display Text |
Enter the page title. The page title must be unique in the application. |
Location
|
Select the page location. Page location defines the location of the page either bundle or remote.
"Bundle": When this option is selected the page being built will reside in the Mobile device, any changes to this page subsequent through AppExe will only take effect in the Mobile application previously installed once it is published, released, submitted, downloaded again and reinstalled/updated by the Mobile App End User. It is best to set this option if the information on this page is most likely not going to change. Eg: Business Contact Information, Business Info/Profile, etc
"Remote": When this option is selected the page being built will reside in the Mobile device but will call the data from the Remote Cloud, any changes to this page subsequent through NPE will only take effect in the Mobile application previously installed once it is published and released again. The Mobile App End User will have to close the app and re-open it and the changes will appear. It is best to set this option if the information on this page is most likely going to change frequently. Eg: Notice board, Intranets, Event Information, etc. |
Background Color |
Select the background color of the page using color picker. It will be white by default. |
Status Bar
|
|
Hide Status Bar |
Select this option to hide the Status Bar. |
Navigation Bar
|
|
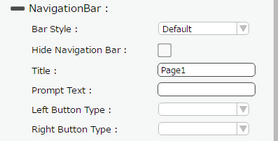
Bar Style |
Set the Navigation Bar style of the page. |
Hide Navigation Bar |
Select this option to hide the Navigation Bar. |
Title |
User can set the Navigation Bar Title as the text desired to be displayed. |
Prompt Text |
Enter the text here to display prompt text. It displays above the title, It is not set by default. If specified, the navigation bar will adjust to display both prompt text and title. |
Left button Type |
User can set the properties for left button. Click here to know more. |
Right button Type |
User can set the properties for Right button. Click here to know more. |
Split View Base
|
|
Frame X |
Set X co-ordinates for placing the frame. |
Frame Y |
Set Y Co-ordinates for placing the frame. |
Frame Width |
Set the width of the frame. |
Frame Height |
Set the height of the frame. |
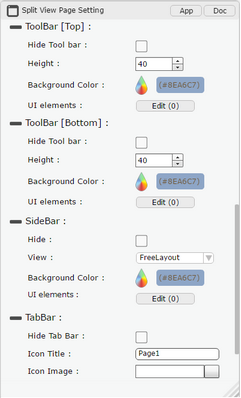
Tool Bar[Top]
|
|
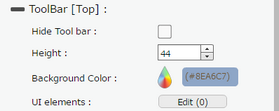
Hide Tool bar |
Select this option to hide ToolBar(Top). |
Height |
User can set the Height of the ToolBar. |
Background color |
User can set Background Color of the ToolBar. |
UI elements |
UI elements can be added in the ToolBar by Clicking on Edit(0) Button. |
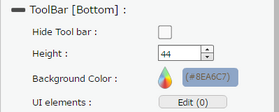
Tool Bar[Buttom]
|
|
Hide Tool bar |
Select this option to hide ToolBar(Bottom). |
Height |
User can set the Height of the ToolBar. |
Background color |
User can set Background Color of the ToolBar. |
UI elements |
UI elements can be added in the ToolBar by Clicking on Edit(0) Button. |
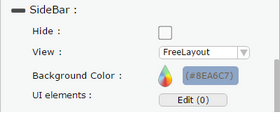
SideBar
|
|
Hide |
Select this option to hide SideBar. |
View |
User can select SideBar View as FreeLayout : This View has fixed height which is the height of the page and fixed width. FreeScroll: This View allows user to set height more than the page height, ScrollBar appears in this view. Table View: This View allows user to create a Record View in the SideBar. |
Background color |
User can set Background Color of the SideBar. |
UI elements |
UI elements can be added in the SideBar by Clicking on Edit(0) Button. |
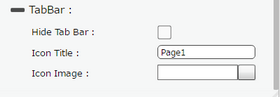
Tab Bar
|
|
Hide Tab bar |
Select this option to hide Tab Bar. |
Icon title |
Enter the text For tab icon (It may not display correctly if the string length is long). |
Icon Image |
User can set some Icon Image which appears at the center of the tab bar. Note: 1. Only png image is supported in the Icon Image of Tab Bar Property. 2. iOS can only handle Black and White png images. 3. The icon image should be less than 30X30 pixels. |
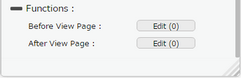
Functions
Functions act as trigger to launch the actions when a particular task is performed. To know more about Functions click here. |
|
Before View Page |
Event is triggered when a page navigation is complete but page is not loaded yet. |
After View Page |
Event is triggered when all UI parts are loaded and page is displayed. |
Note:
1) If user has Child page of one of the Split Pages and if user navigates to child page using “Go to child “page action in run time the child page will get open in new window instead of in that particular frame.
2) Vertical Splitting can be done similarly as Horizontal splitting explained above. Above Horizontal split can be split further into more frames.
Limitation of Split View Page:
1) The application appears blank unless user adds pages to all the Frames or section of Split View Page.
2) If user deletes any Split section of Split View Page then then the rest of the frame of the split view page does not get adjusted automatically hence user need to adjust width or height manually from the properties.