Page Document Editor Window |
  
|
Page Document Editor Window |
|
1. Page Document Editor Window for Page.
2. Page Document Editor Window for UI Part.
Page Document Editor Window for Page.
App Button
App Button displays the Project Details like project created date & time, project updated date&time , version etc.
Step 1: Click on "App" Button.
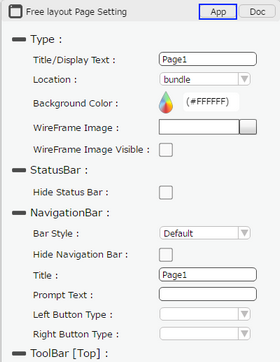
Step 2: Page Document Editor Window opens.
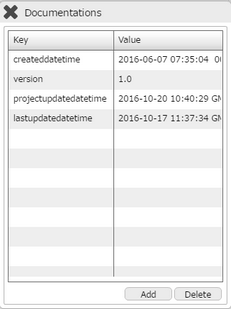
Key |
Value |
createddatetime |
Displays time when App was created. |
version |
Displays the version of the Project. |
projectupdatedatetime |
Displays when Project has been updated. |
lastupdatedatetime |
Displays the time when the App is updated last. |
Doc Button
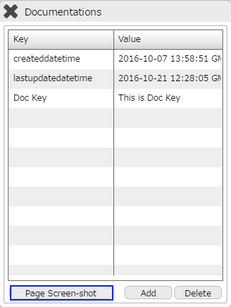
Displays the created date & time , last updated date & time of the Application Page. It allows user to create User Defined Key related to Page for Documentation Purpose.
It also allows user to create "Page Screen shot" which can be displayed in the Document Specification.
Step 1: Click on "Doc" Button on the Properties Pallette of a Page e.g Free Layout Page.
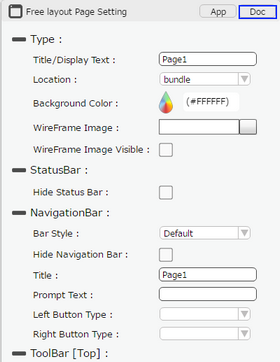
Step 2: Page Document Editor Window opens.
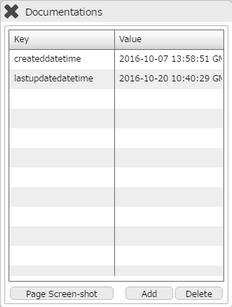
Key |
Value |
createddatetime |
Displays time when App was created. |
lastupdatedatetime |
Displays the time when the App is updated last. |
Step 3: Click on "Page Screen-shot" as shown in the image below to create Screenshot of the Page.
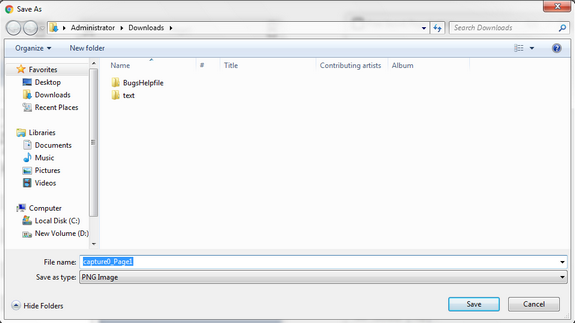
Step 4: The Page Screenshot will be saved by default name "capture0_PageName" ( Here "0" indicates Screen 1, for Screen2 default name is capture1_Pagename and so on).
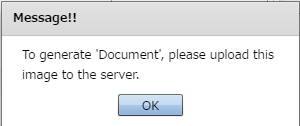
Step 5: Following popup appears to upload image to Resource Manager.
Step 6: Click on "Add" to add screenshot and click "Apply".
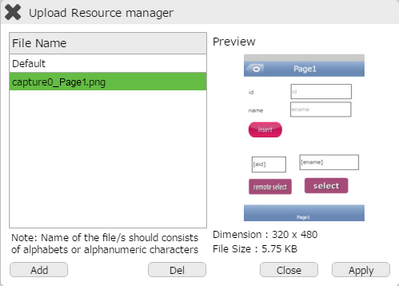
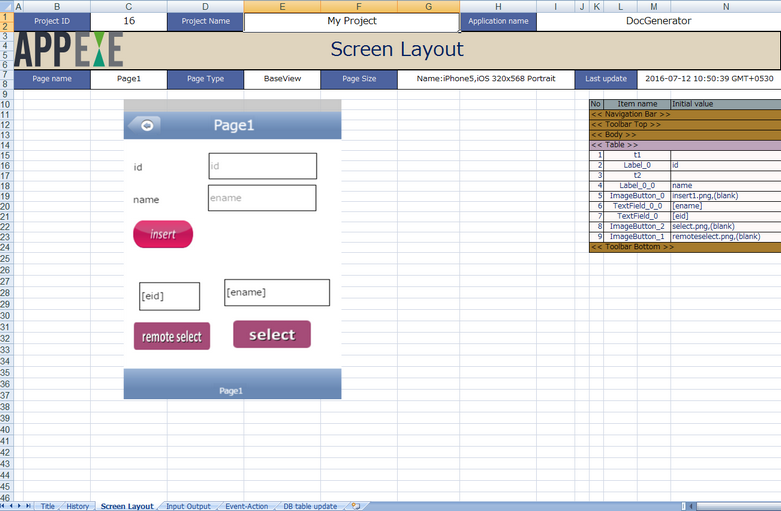
Step 7: The Page Screenshot will be displayed on "Screen Layout" page once Document is generated from Documentation Tab.
Page Document Editor Window for UI Part
Displays the created date & time , last updated date & time of the UI Part and allows user to create User Defined Key related to UI Part for Documentation purpose. Follow below steps to understand more.
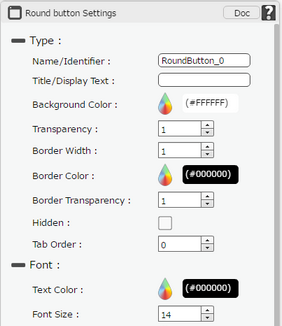
Step 1: Click on "Doc" Button on the Properties Pallette of the UI Part.
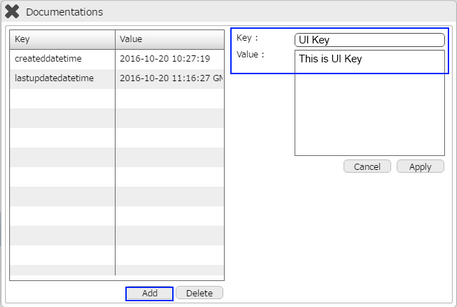
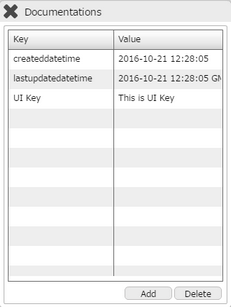
Step 2: Page Document Editor Window opens. Click on "Add" and Enter " key" and "Value" as shown in image below. A User Defined key "UI Key" is created as shown in second image below.
Key |
Value |
createddatetime |
Displays time when UI Part was created. |
lastupdatedatetime |
Displays the time when the UI Part was updated last. |
Step 3: Open the "Screen input/output" page when Document Template is Downloaded.
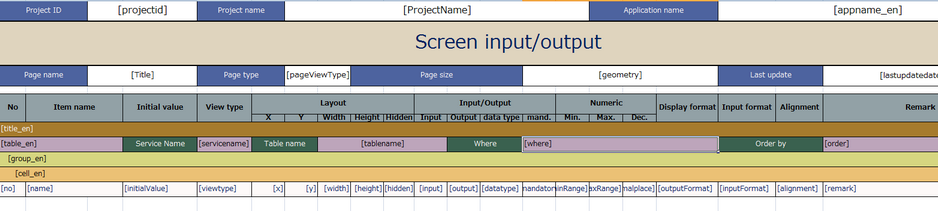
Step 4: Replace the "remark" key with user defined key "UI Key" created in Page Editor.
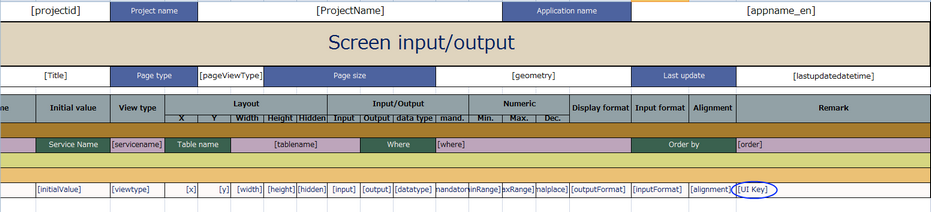
Step 5: After document is generated, it displays the user defined key as shown in image below.
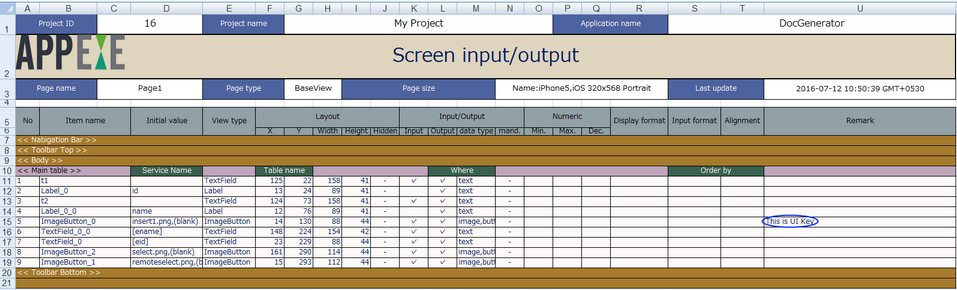
Note: Users can create the key from the Document Pop up and use on any page in the Document Template.