Combine to CSV action is used to combine the data from different UI parts to a single UI part in CSV (Comma Separated Value) format. To know more about the action please follow the steps given below:
Step 1: Create a Parent Page "Page1" and a Child Page "Child1". Click here to know more about it.
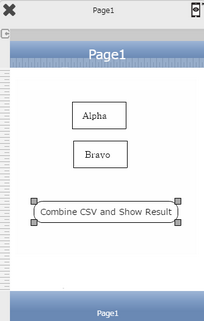
a.Drag and drop two TextFields UI Parts on the Page "Page1" and set their "Title/Display Text" as "Alpha", "Bravo" respectively as shown in the image below.
b.Set the Name/Identifier for the TextFields as "name-0", "name-1" respectively.
c.Drag and drop a Round Button and set the "Title" text as "Combine CSV and Show Result".
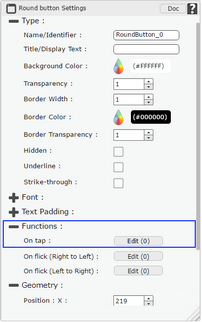
d.Browse to the "Functions" section on "Properties Palette window" of RoundButton for applying actions.
e.Click on the corresponding Edit(0) button of the Function on which user wants to apply the Action. To know more about the Functions click here.
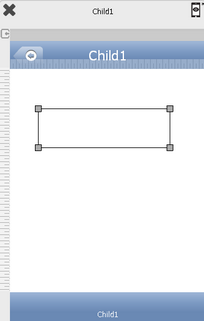
Note: Add a Child Page and a TextView UI Part in it to show the Result. To know more about child page click here.
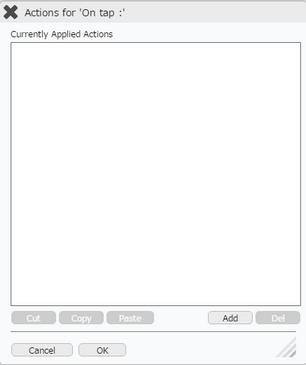
Step 2: Click on "Add" button on the Actions window to add an action. To know more about actions click here.
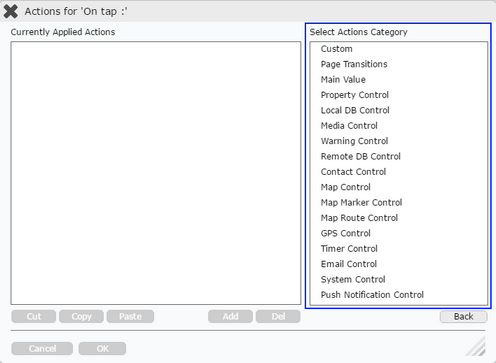
Step 3: Select the Actions category as “Main Value”.
Step 4: Click on the "Main Value" and then click on “Combine To CSV” action.
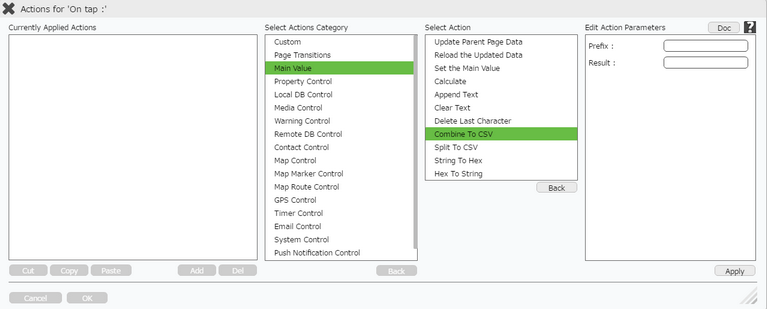
Click here to know about "Doc" Button.
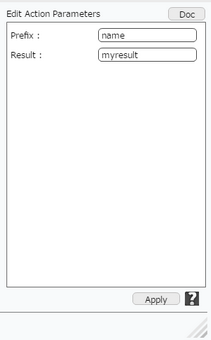
Step 5: Enter Action parameters:-
Parameter |
Description |
Prefix |
Enter the prefix. Prefix is the common starting name given to all the UI parts whose data user wants to combine for e,g "name". |
Result |
Enter Result variable.e.g "myresult" is a variable which will contain the result. |
Note:For example user wants to combine the data of the three TextField UI parts on the page, then the Name/Identifier of these three UI parts must follow the following syntax:
Textfield 1: "name-0"
i.e "prefix-0" where name is the prefix and 0 is the index
Textfield 2: "name-1"
i.e "prefix-1" where name is the prefix and 1 is the index
The numbering must start from 0.
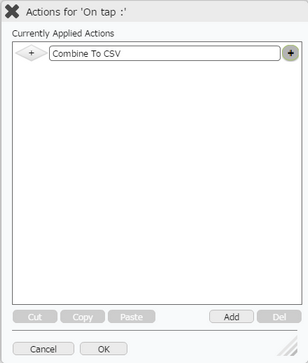
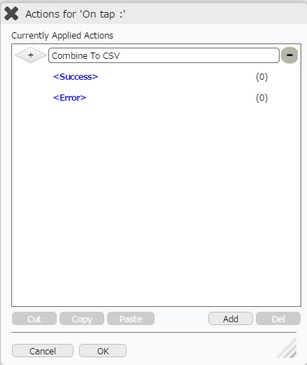
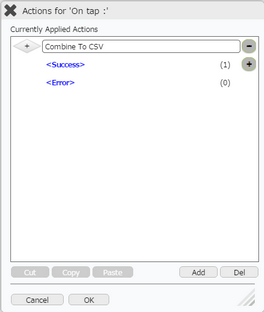
Step 6: Combine To CSV action is applied as shown in first image below. Click on "+" Action Event Button on the right to apply action on the "Success Event". The Success and Error event are visible as shown in the second image.
Step 7: Select Success event and Click on "Add" button to add another action. Click on "Page Transition", then click on "Go to Child Page".
Enter Action parameters:-
Parameter |
Description |
Page Name |
Select the page name using the drop down menu. This will automatically show the list of all the child pages associated with it. |
Transfer Data |
Select Transfer data option to transfer the data to the child page. Click here to know more. |

Step 8: Action is applied on the Success Parameter. Click on "OK" button if the user doesn't want to add more actions.
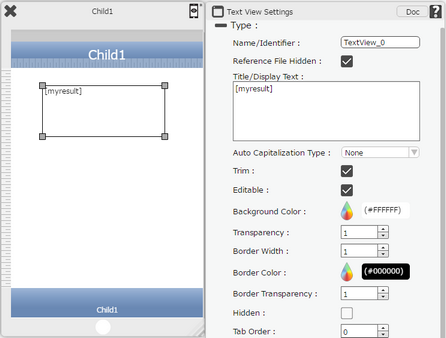
Step 9: On Child Page "Child1", set the Title/Display Text of "TextView" as "[myresult]".
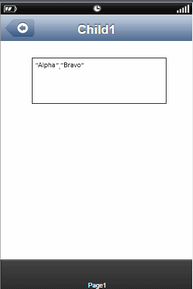
Step 10: Preview the Result. The Result is displayed in the TextView on Child Page.
Note: Define condition if required, by clicking on "+" Condition Button on the left. Click here to know more.