Load Gadget |
  
|
Load Gadget |
|
Load Gadget allows user to Load any page of the user's Application as a Gadget. Follow below steps to know more.
1. Creating Application Pages in "Page Editor"
2. Load Gadget (Loading the Gadget using "Load Gadget" in Resource Manager).
Gadget Detail:
1. Page to be created as Gadget: "Page1"
2. Gadget Applied on "Page2"
1. Creating Application Pages in "Page Editor"
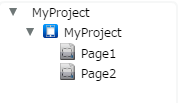
Step1: Create Pages "Page1", "Page2" as shown below. Click here to know more.
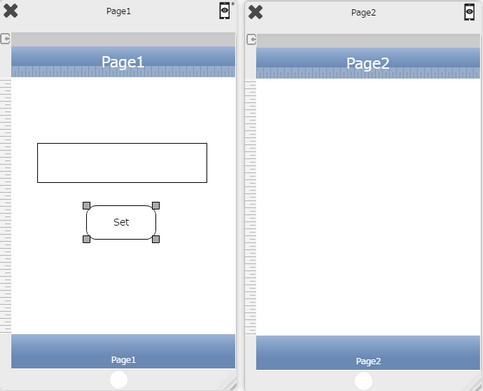
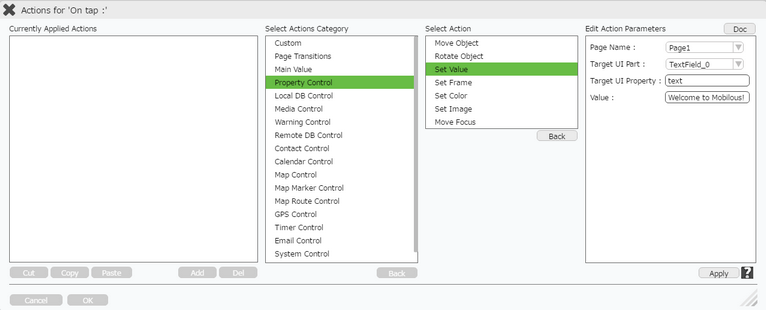
Step2: Apply "Set Value" action in "Property Control" category on the "Set" RoundButton as shown below. Click here to know more.
2. Load Gadget
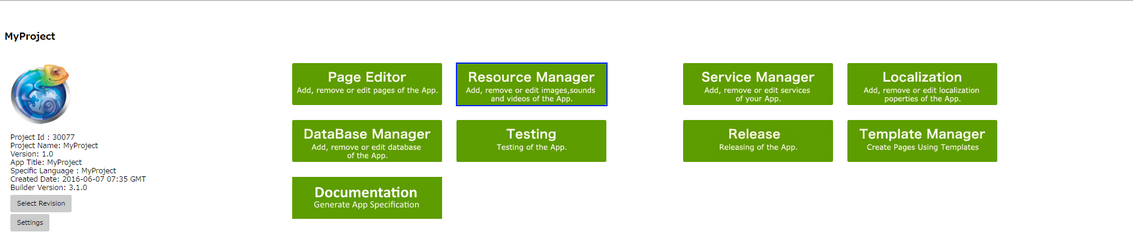
Step1: Click on Resource Manager on the Application Manager Page as shown below.
Step2: Resource Manager Page Opens. Select "Gadgets" from "Filter by" options.
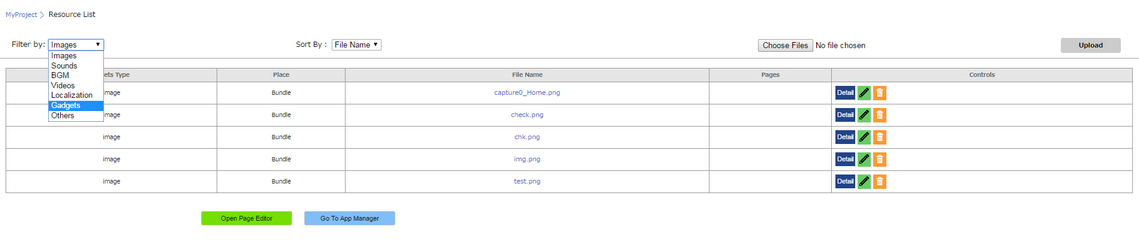
Step3: Click on "Add Gadget" to create a new Gadget.

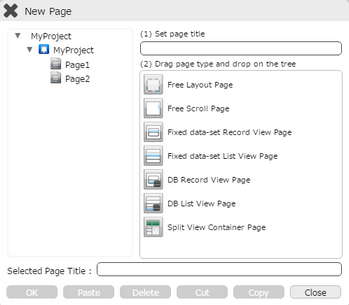
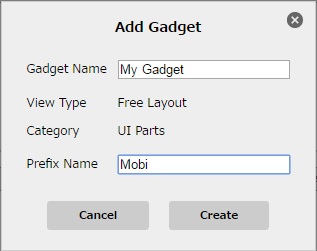
Step4: Following Pop up opens to create a Gadget. Enter the parameters as shown below and click "Create".
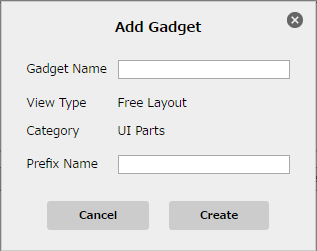
Parameter |
Description |
Gadget Name |
Enter the name of the Gadget. |
View Type |
View Type is the type of the page used in Gadget i.e FreeLayout. |
Category |
Category of the Gadget is UI Parts as Gadget is used as a UI Part in Page Editor. |
Prefix Name |
Enter the Prefix name for the Gadget which is used for reference in Page Editor. |
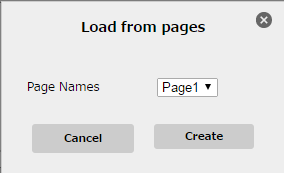
Step5: Gadget is listed as shown below. Click on "Load Page".

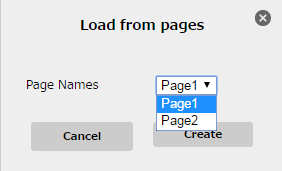
Step6: Pop Up window opens as shown below. Select page name from the Drop Down whose Gadget has to be created. e.g "Page1" page.
Step7: Following window appears, the gadget is created using "Page1" Page from the application and user can now click on "Gadget Editor" to Edit the gadget.

Step8: Gadget can be seen as created from "Page1" Page.
Note: Select "Main Object Name" and enter "Gadget Selector" properties to be displayed in the Toolbox in Page Editor.
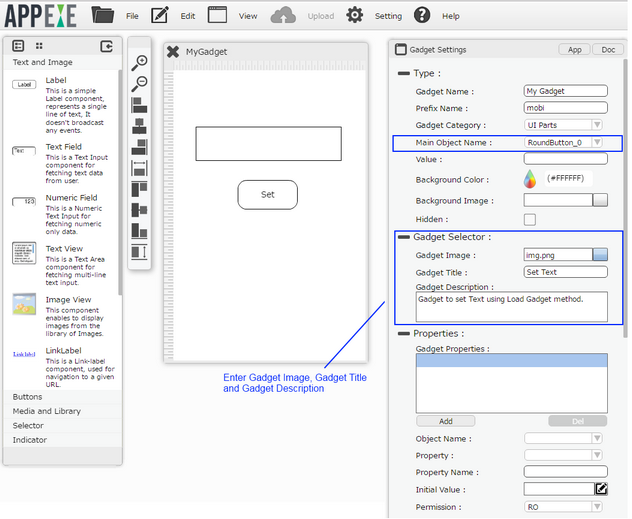
Step9: User can change "Width" and "Height" of the Gadget from Gadget Geometry.

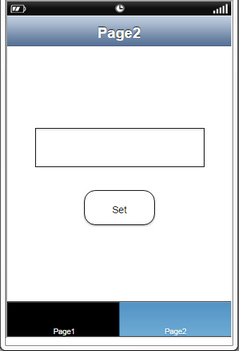
Step10: Open "Page Editor". Drag and Drop the Gadget on the "Page2" page. Click on Preview button on the top right corner of the Page.
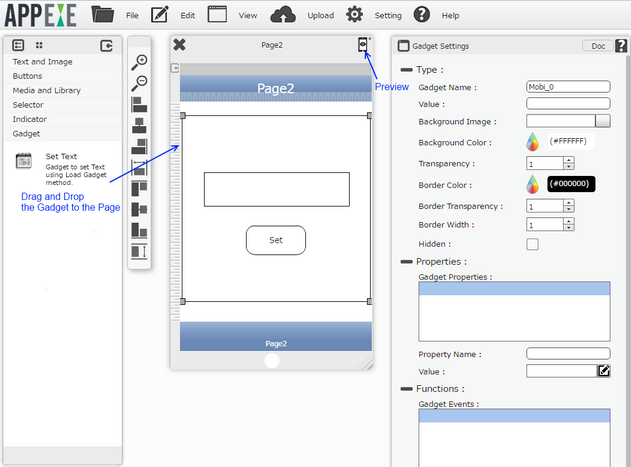
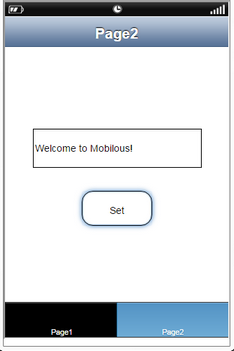
Step11: User can see the output as shown below. "Page2" page displays the Gadget created from "Page1" Page. Click on "Set" button. Text is displayed in the TextField as shown in the second image below.