This action will allow the user to use the Remote DB table and its fields for authentication. For this the user must have a table in the Remote DB. To know more about adding a table click here.
Step 1: Open a Free Layout Page.
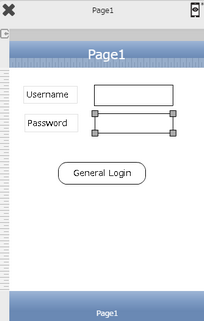
a.Drag and drop two Label UI parts and set Title/Display Text as "Username" and "Password".
b.Drag and drop two TextField UI parts to enter values for "Username" and "Password".
c.Drag and drop a RoundButton UI part and set Title/Display Text as "General Login".
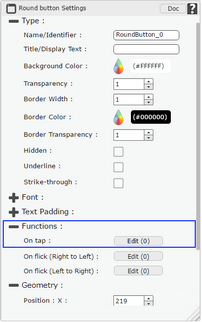
d.Browse to the "Functions" section on "Properties Palette window" of RoundButton for applying actions.
e.Click on the corresponding Edit(0) button of the Function on which user wants to apply the Action. To know more about the Functions click here.
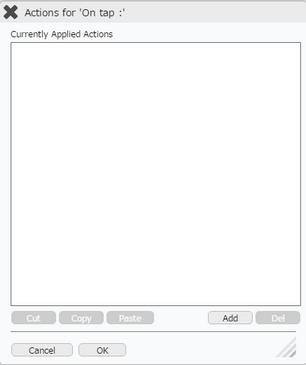
Step 2: Click on "Add" button on the Actions window to add an action.To know more about actions click here.
Step 3: Select the Actions Category as “Remote DB Control”.
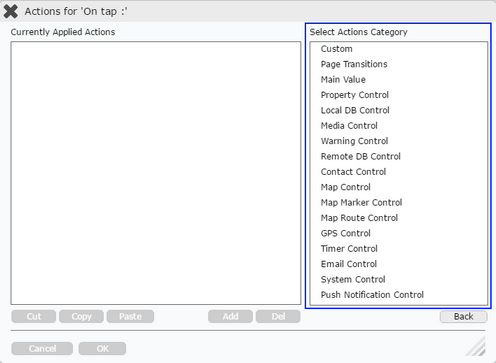
Step 4: Click on the "Remote DB Control" and then click on “General Login” action.
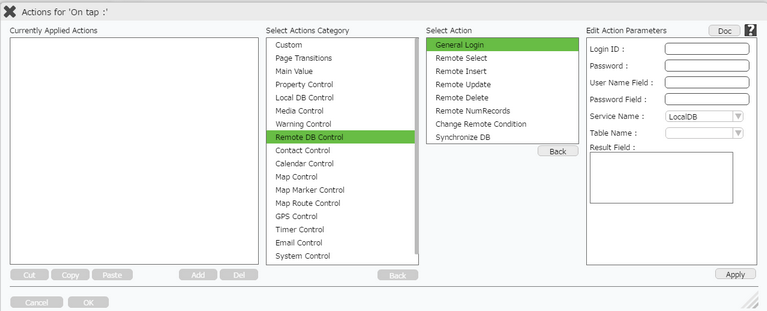
Click here to know about "Doc" Button.
Step 5: Enter Action Parameter as below:-
Parameter |
Description |
LoginID |
Enter the User name. User name is the data entered in the table record. Note: Usually User name is specified as UI part name or variable (format - [textfield1]). |
Password |
Enter the Password. Password is the data entered in the table record. Note: Usually Password is specified as UI part name or variable (format - [textfield2]). |
User Name Field |
Enter the User Name Field. User Name Field is the name of the table field used for username in the Remote DB. |
Password Field |
Enter the Password Field. Password Field is the name of the table field used for password in the Remote DB. |
Service Name |
Select the Service Name as "Mobilous". Note: Service Name will appear only if a table is already created in the Remote DB. |
Table Name |
Select the Table Name from the drop down list. |
Encryption |
Select the Encryption type. User can specify whether the password should be encrypted or not. |
Salt |
If this parameter is set, the encryption will be done with the salt. The user can leave this field blank. Click "OK". |
Result Fields |
Select the fields which will contain the output. |
Note: To see the result on runtimes, user should apply an action on the success event. To know more about this click here.
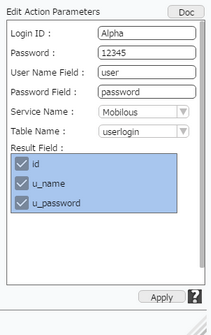
Step 6: Click on "OK" button if the user doesn't want to add more actions.
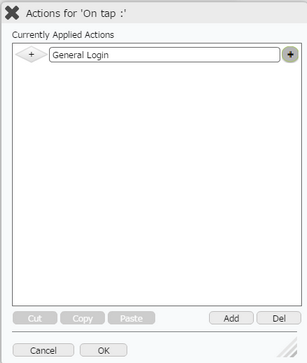
Note: Define condition if required, by clicking on "+" Condition Button on the left. Click here to know more.