Switch Camera |
  
|
Switch Camera |
|
This action will allow the user to switch camera from Front to Rear and vice versa. To know more about this action please follow the steps given below:
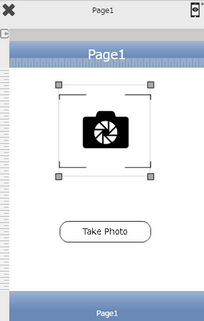
Step 1: Open a Free Layout Page.
a.Drag a Camera UI Part and RoundButton UI Part and drop it on the Page as shown in the image below.
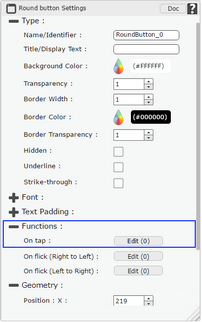
b.Browse to the "Functions" section on "Properties Palette window" of RoundButton for applying actions.
c.Click on the corresponding Edit(0) button of the Function on which user wants to apply the Action. To know more about the Functions click here.
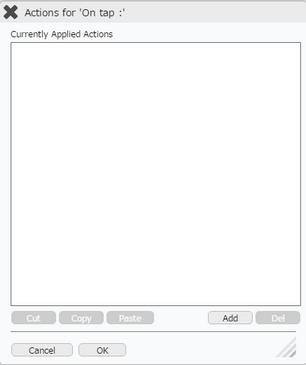
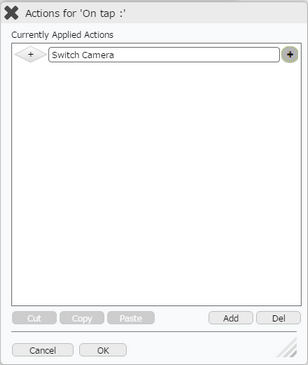
Step 2: Click on "Add" button on the Actions window to add an action.To know more about actions click here.
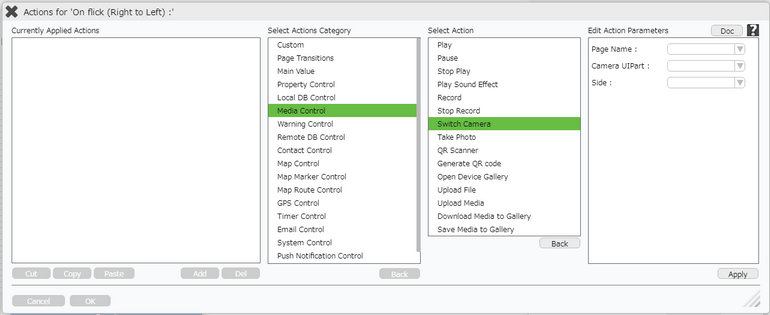
Step 3: Select the Actions category as “Media Control”.

Step 4: Click on the "Media Control" and then click on “Switch Camera” action.
Click here to know about "Doc" Button.
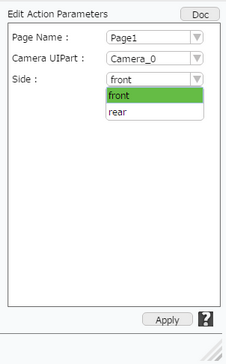
Step 5: Enter Action Parameters:
Parameter |
Description |
Page Name |
Select Page Name from the Dropdown. |
Camera UIPart |
Select the Camera UI Part name from the Dropdown. |
Side |
User can select the side of the Camera as "Front" or "Rear". |
Step 6: Click on "OK" button if the user doesn't want to add more actions.
Note: Define condition if required, by clicking on "+" Condition Button on the left. Click here to know more.