Remote Update |
  
|
Remote Update |
|
This action will allow the user to update the record in the designated table of the remote database. If the user wants to update the data then the user must have a table in Remote DB. To know more about adding a table click here.
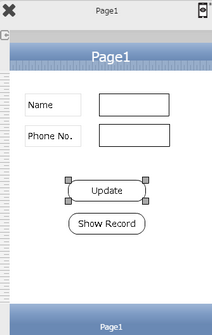
Step 1: Open a Free Layout Page.
a.Drag and drop two Label UI parts and set Title/Display Text as "Name" and "Phone No."
b.Drag and drop two TextField UI parts to enter values for "Name" and "Phone No."
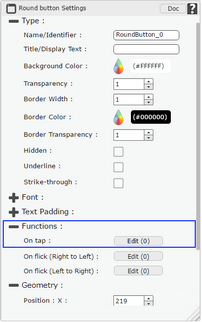
c.Drag and drop two RoundButtons UI parts and set Title/Display Text as "Update" and "Show Record".
d.Browse to the "Functions" section on "Properties Palette window" of RoundButton for applying actions.
e.Click on the corresponding Edit(0) button of the Function on which user wants to apply the Action. To know more about the Functions click here.
Note: i) Also Add a DB ListView page to view data inserted to the table. For more information click here.
ii) Apply "Page Transition" to child page on "Show Record" Button on "Page1". For more information click here.
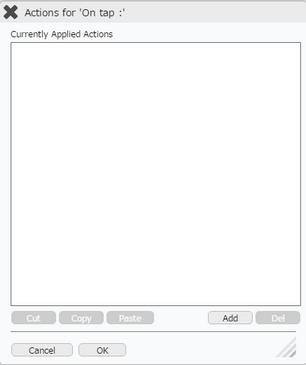
Step 2: Click on "Add" button on the Actions window to add an action.To know more about actions click here.
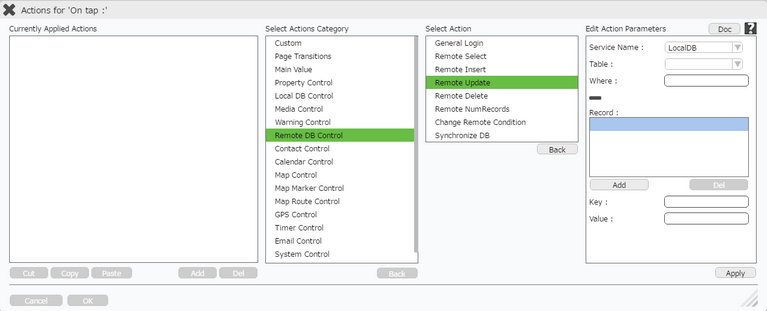
Step 3: Select the Actions Category as “Remote DB Control”.

Step 4: Click on the "Remote DB Control" and then click on “Remote Update” action.
Click here to know about "Doc" Button.
Step 5: Enter Action Parameter:-
Parameter |
Description |
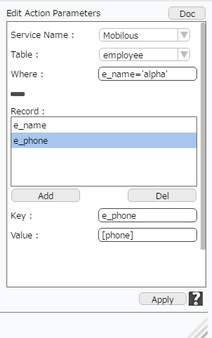
Service Name |
Select Mobilous from the Dropdown option for RemoteDB table. |
Table |
Select Table Name as "employee". |
Where |
Enter the where parameter only if the user wants to update a specific record. The syntax of where condition is same as SQL i.e Columnname='data' . Column name is the name of the table field from the database and data is any entry which is mentioned in that field of database. For e.g e_name='alpha'.
Note: Please note that the user can use variables or TextField name within square brackets also. (For e.g: Columnname = '[TextField1]' ) Click here for more Examples. |
Record |
Define the Record. Click on Add to add table field name. To know more about the record click here. |
Key |
Name of the field of the table in the Remote DB For e.g "e_name" , "e_phone". |
Value |
Name/Identifier of the TextField UI part on the page from where value has to be fetched, in square bracket i.e "[TextField1]","[TextField2]" e.g "[name]", "[phone]" as shown in the figure. |
Step 6: Click on "OK" button if the user doesn't want to add more actions.
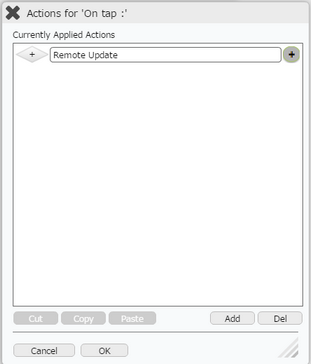
Note: Define condition if required, by clicking on "+" Condition Button on the left. Click here to know more.
Step 7: Preview to see the output.
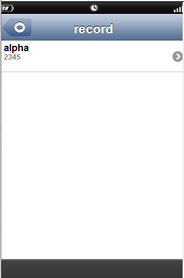
i) Insert data as explained in Insert section. Click here. View old data on the record page.
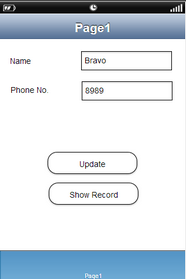
ii) Enter new Name and Phone No. as shown below.
iii) Click on "Update" button then Click on "Show Record" button to see updated data.
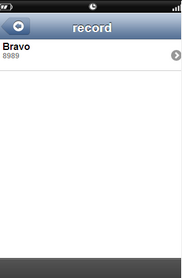
iv) Record page displays the new data Updated.