Localization |
  
|
Localization |
|
The Localization manager allows a user to manage and translate text of the application. User need to create Google API key for applying localization.
Create New Localization:
User needs to follow the below mentioned steps for creating a new localization file.
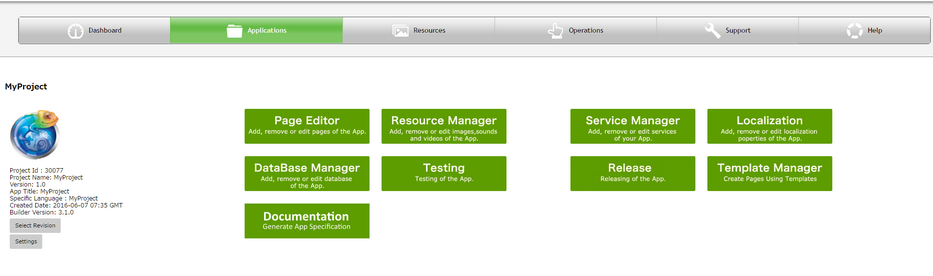
Step 1: To add the localization manager click on the "Localization" button provided in the Application manager page.
Step 2: On clicking on the "Localization" button the following page opens, click on the "+" icon to add a new translation.

Step 3: When user clicks on the "+" icon on localization manager page then localization window appears.
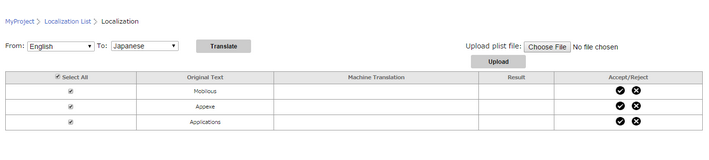
Localization window contains a table which automatically detects the text of the UI Objects on the page as shown in figure.
For example if the user has the below mentioned text in the pages of the application for the text UI parts.
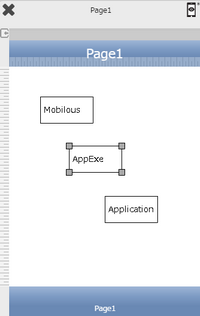
Then the same UI parts text will be appearing in the table on localization page as shown below.
Note: User gets error message if the Google API Key is not applied or is invalid.
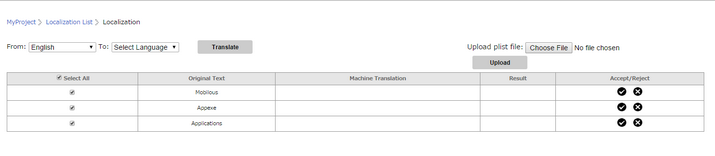
Step 4: Select the "original text" which user wants to translate or select all. Then select the "From" language from the provided drop down menu i.e. the language user is currently using in the application and then select the "To" language i.e. the language user wants to translate their text in. Then click Translate. The translated text is displayed in the machine translation column.

Step 5: Accept the converted text by clicking on the tick button or reject by clicking on the (X) icon. The accepted text is shown in the Result column.
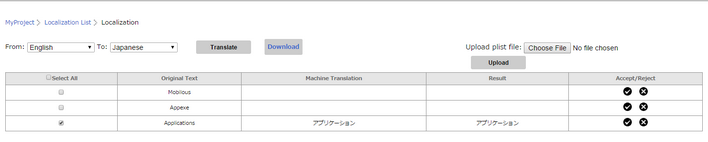
Step 6: Click on the Download button next to Translate button. On clicking the "Download" button a file will be downloaded to the user's system with file extension "plist".
Step 7: Click on the "Choose File" button and select the same file that was downloaded in last step.
Please note that the file name should not be changed.

Step 8: Click on the "Upload" button. The Localization file created is added to the Localization List.
Note: This Localization file also appears or can be uploaded in the Resource manager, Localization list.

Edit Localization:
User needs to follow the below mentioned steps for editing a localization file that already existed.
Step 1: To edit the existing localization, click on the edit icon provided in the Localization list as shown below.

Step 2: Following screen opens. The user can change the accept/reject status for the text.
(Repeat steps from Step6 as explained above in "Create New Localization")
Note: User cannot change the From and To Languages. ( From and To Language fields freeze if user try to edit the Localization as shown in below image)

Step 3: After following the steps as mentioned in last step, the updated List is displayed as shown below.

Note: Data from the database tables (csv files) will not be fetched and converted.
Note:
To reflect Localization Language:
1. Upload Localization File in Resource Manager
2. Preview App
3. Publish App
4. Set the Language on the Device as the Target language as set in localization.
5. Launch the App