Releases |
  
|
Releases |
|
Release Process allows one to release their Application in Production environment by creating a new Application Instance. After the app is released in Market place any interaction with the App will be done through this instance. Follow below steps to release the Application.
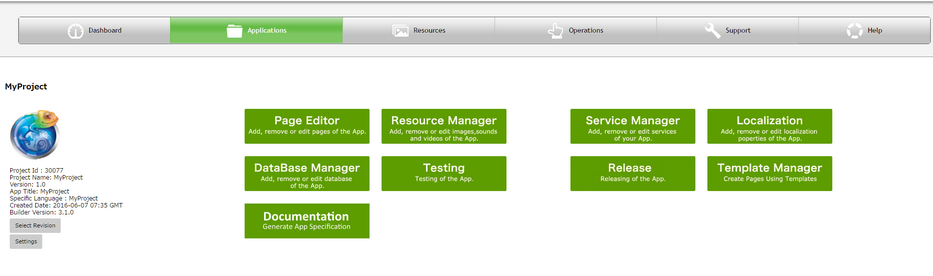
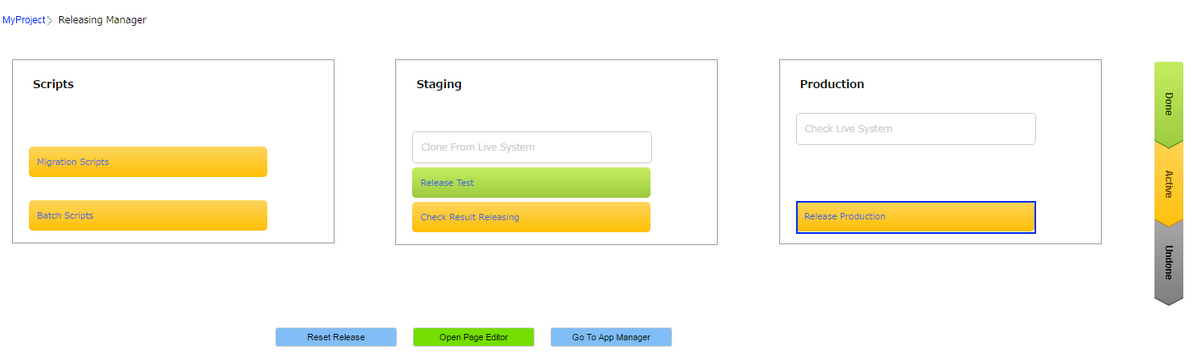
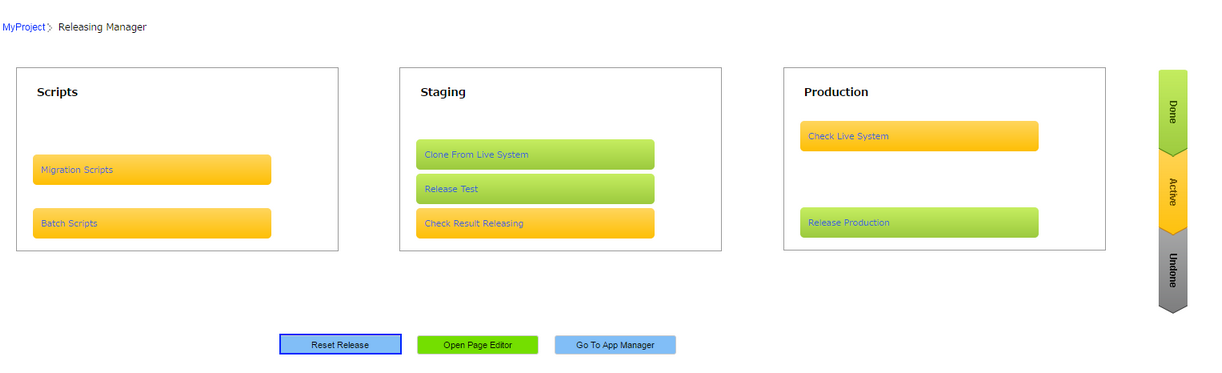
Step 1: Click on "Release" button on the Application Manager page.
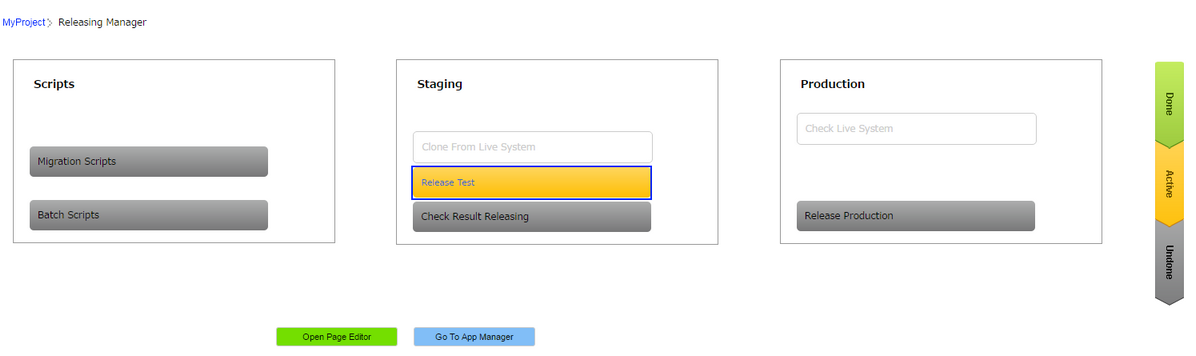
Step 2: Click on "Release Test" to release the App in virtual server for testing purpose, i.e Pretesting the app before going to live or production server.
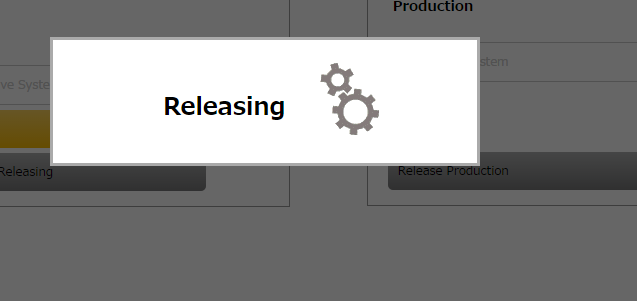
Step 3: Release process starts. After it completes it takes around an hour for creating instance in the cloud.
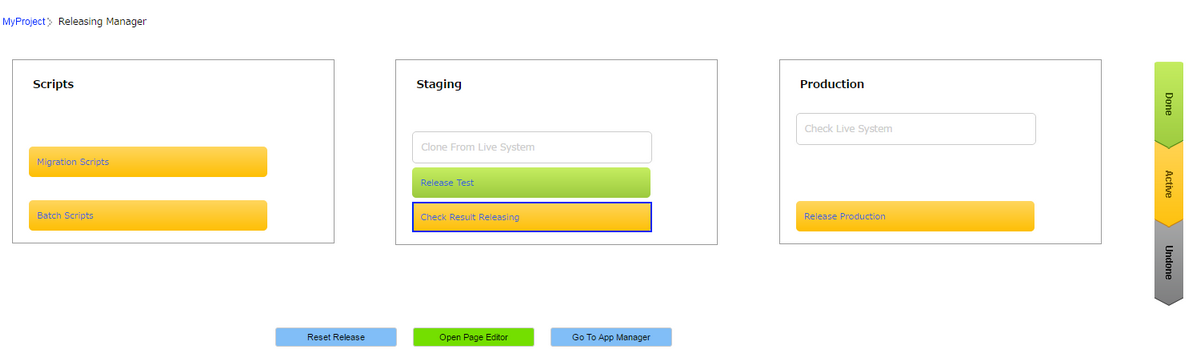
Step 4: User can now click on "Check result releasing" button in the staging section to Check the Database (CSV files) of the Staging or the Virtual Server.
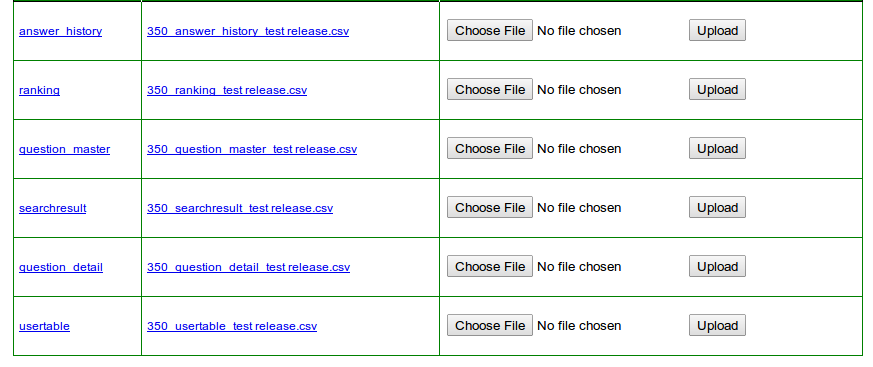
Step 5: On clicking on "Check result releasing" Remote Database tables and CSV files appears for the staging server as shown in the image below. One can verify the database from here by uploading the tables. Click on "Choose File" and "Upload" to upload the tables.
Step 6: Click on "Release Production", page will go to Buy App plan.
Step 7: Select Application plan and click on "Buy".
Application plan is to create separate server for that application so that release app will be running in separate server.
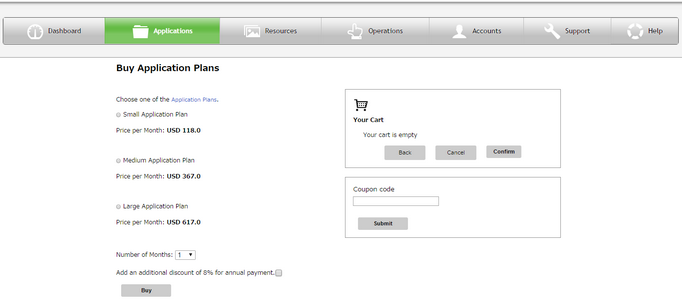
Note: User can enter "Coupon Code" also for releasing the application.
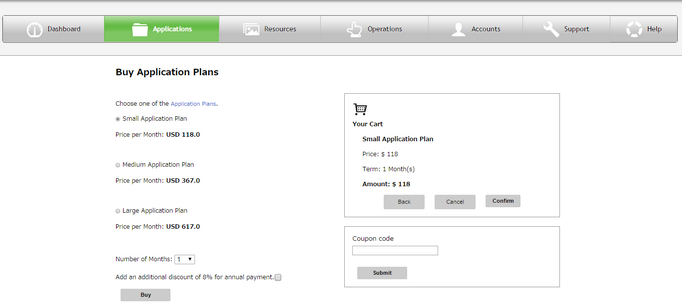
Step 8: Selected Plan is added to the Cart on the right. Click on "Confirm" to proceed.
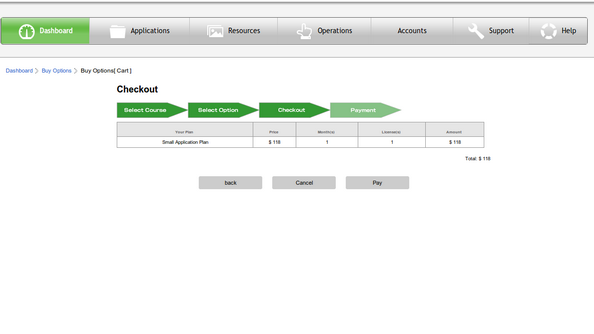
Step 9: The Checkout window appears displaying the Plan Details and the Amount payable. Click on "Pay" to proceed for Payment.
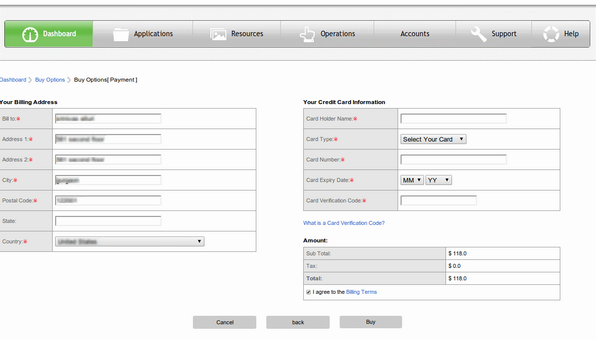
Step 10: The Payment window appears. Enter your Credit Card information and Click on "Buy".
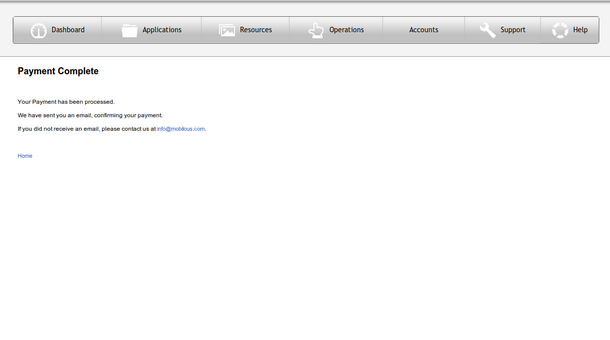
Step 11: After successful payment, the Payment process completes as shown in image below and users will receive a Payment confirmation email.
Note: It will take 2-3 hrs to create separate server to run the application.
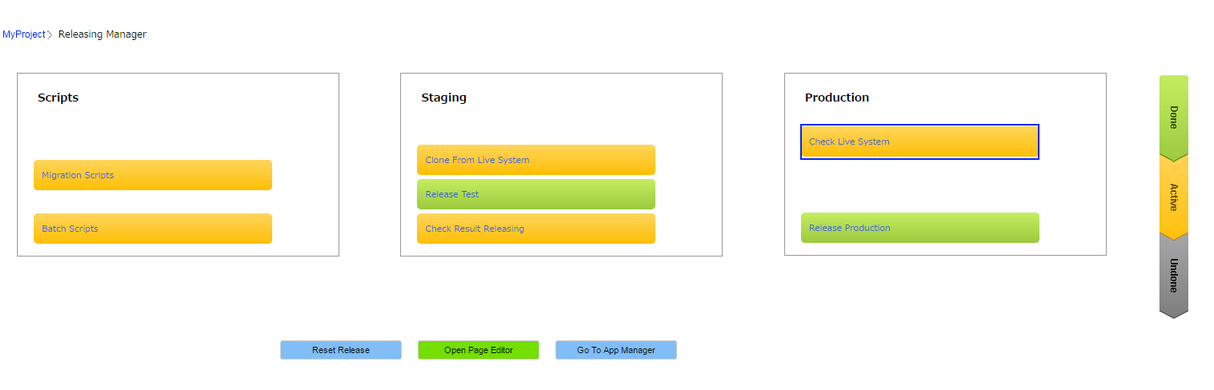
Step 12: Click on "Check live System" to verify the Live Database.
Step 13: Remote Database tables and CSV files will be appearing of live system or production system.

Step 14: User can retest the app with the existing live database in the staging server. User needs to click on "Clone from live" button as shown below, which copies the production database to the staging database hence copying the live database.
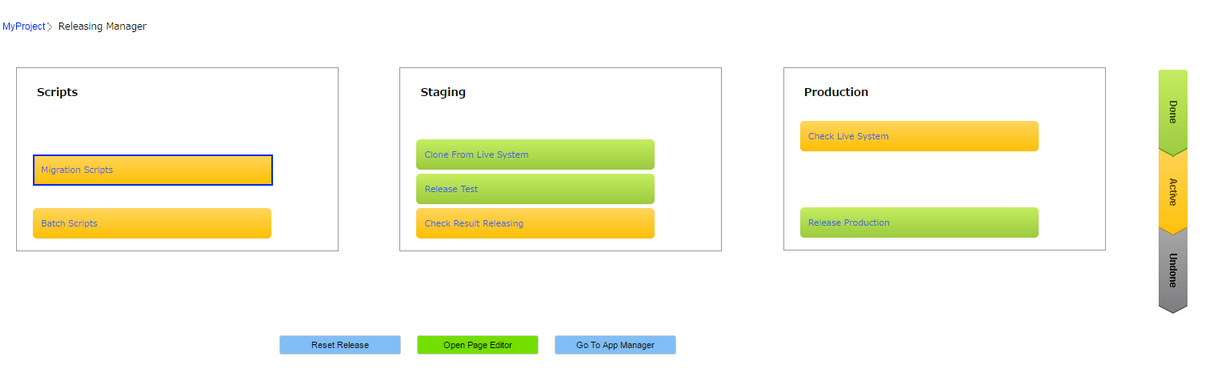
Step 15: If any migration scripts needs to be executed, user can click on "Migration scripts" button under scripts section so that user can migrate any fields of Database. Migration Script Overlay appears as below. Here user need to add Script name and the sql script. Click here to know more.
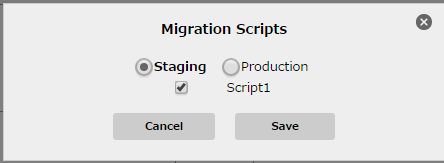
Step 16: Following pop up appears. User need to select the server where script need to be run i.e "Staging" or "Production" and select the Script which needs to be run. Click on "Save".
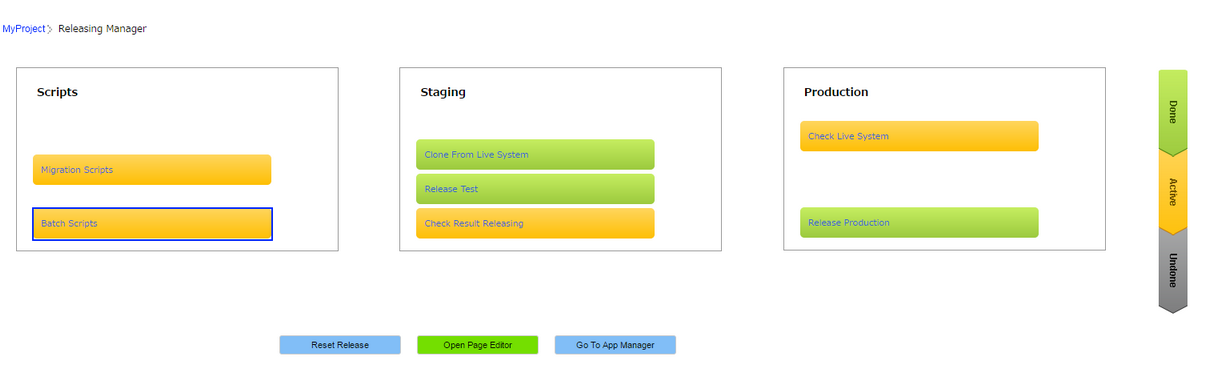
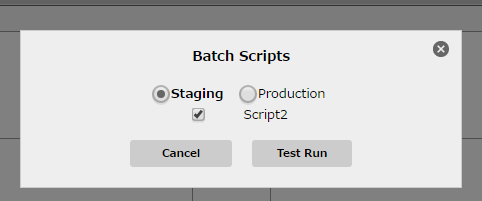
Step 17: User can now Click on "Batch script" button in the Scripts section if required. Here user need to add Script name and the sql script. Click here know more.
Step 18: Following pop up appears. User need to select the server where script need to be run i.e "Staging" or "Production" and select the Script which needs to be run. Click on "Test run".
Reset Release:
Reset Release Button above resets the release process and brings back the screen to first stage. User can follow the release process again.
(Note: Reset Release uses the same instance which was created first time in cloud)
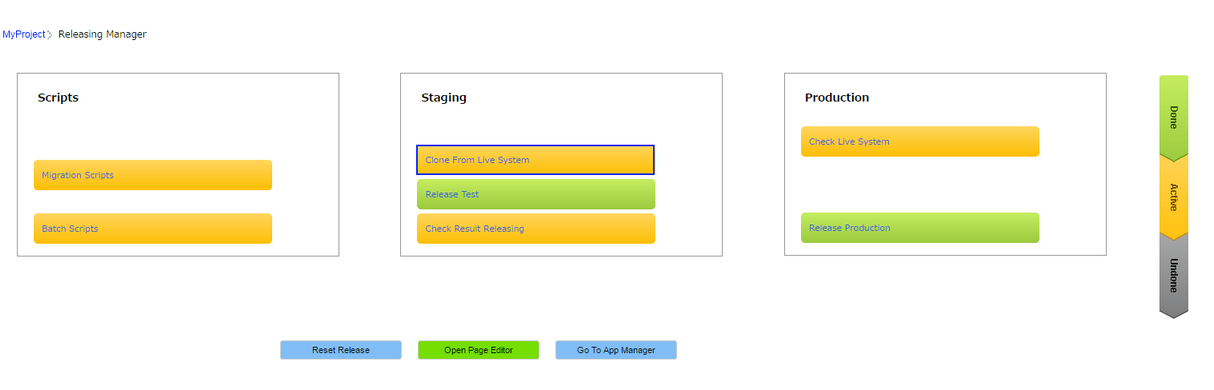
Step 1: Click on "Reset Release" button as shown below.
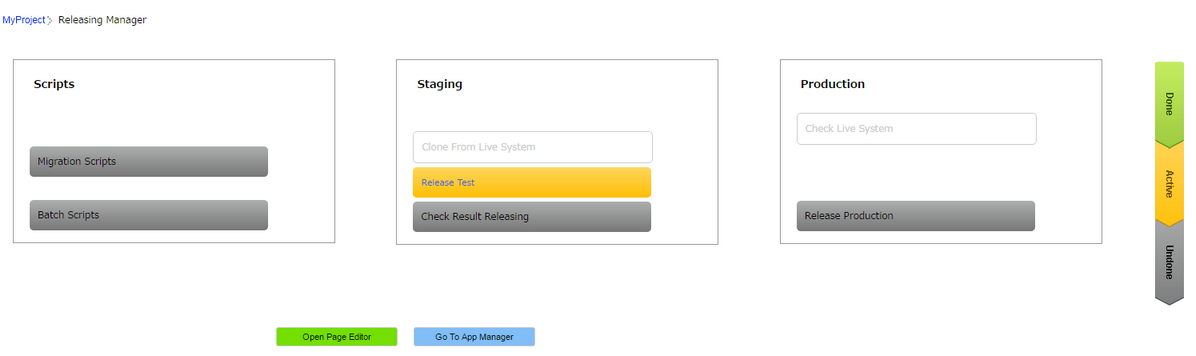
Step 2: Following screen appears resetting the previous release process.
Note:
Color |
Description |
Grey |
The Grey color indicates that the process is not done yet. |
Yellow |
The Yellow color indicates that the process is active. |
Green |
The Green color indicates that the process is completed or done. |