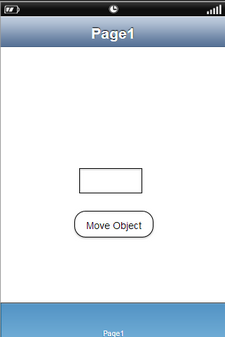
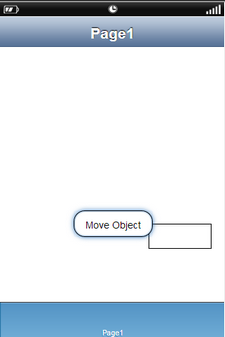
This action will allow the user to move the specified UI Part/object to a relative specific position. To know more about the action please follow the steps given below:
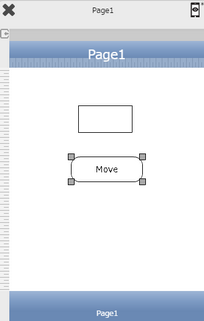
Step 1: Open a Free Layout Page.
a. Drag a TextField and a RoundButton UI part and drop it on the Page.
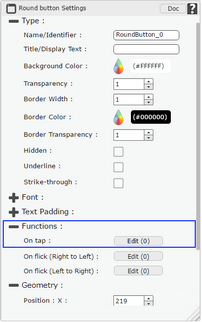
b. Browse to the "Functions" section on "Properties Palette window" of RoundButton for applying actions.
c. Click on the corresponding Edit(0) button of the Function on which user wants to apply the Action. To know more about the Functions click here.
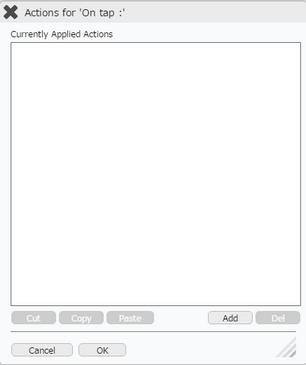
Step 2: Click on "Add" button on the Actions window to add an action.To know more about actions click here.
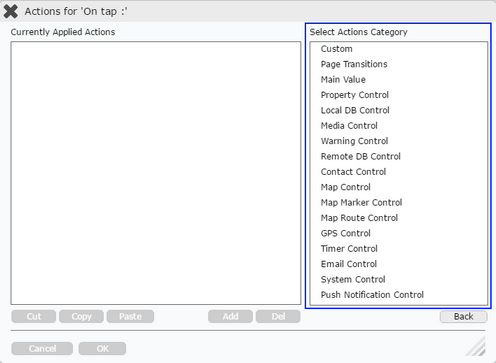
Step 3: Select the Actions category as “Property Control”.
Step 4: Click on the "Property Control" and then click on “Move Object” action.
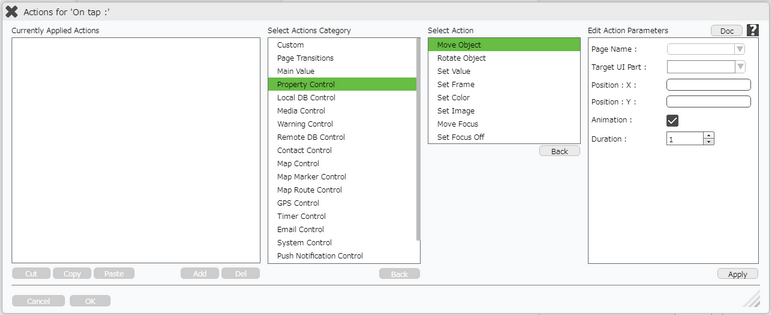
Click here to know about "Doc" Button.
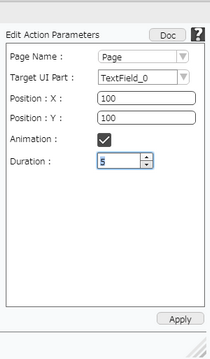
Step 5: Enter Action Parameters:-
Parameter |
Description |
Page Name |
Select name of the Page, where UI Part to be moved is present - "Page". |
Target UI Part |
Select Target UI Part which is to be moved - "TextField_0" as shown in the image below. Note: User can Type or select the Target UI Part from the Drop Down. |
Position X |
Enter the Horizontal distance (numeric data) to be moved by the object. |
Position Y |
Enter the Vertical distance (numeric data) to be moved by the object. |
Animation |
User can check Animation option to apply animation effect to the UI Part. |
Duration |
Duration field appears when Animation option is selected. User can select desired amount of time in seconds for Animation. |
Step 6: Click on "OK" button if the user doesn't want to add more actions.
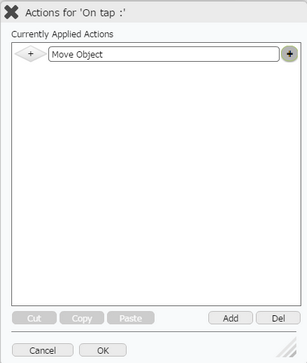
Note: Define condition if required, by clicking on "+" Condition Button on the left. Click here to know more.
Step 7: Preview to see the output. Click "Move Object" button in the preview to move the object in specified position in specified duration displaying Animation as shown below.
