Signature |
  
|
Signature |
|
Signature feature of Appexe allows user to sign in the user's application on the device. User can save it in Remote Server as well.
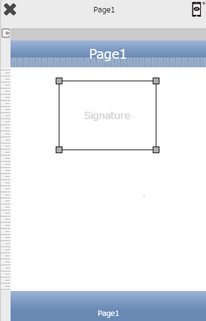
1) Image view as Signature :
a. Open a Free Layout Page.
b. Drag an Image View UI part and drop it on the Page.
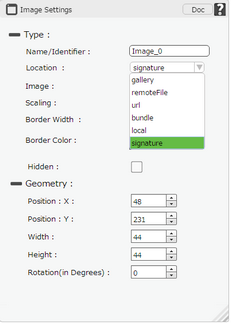
c. Browse to the "Type" section on "Properties Palette window" of Image View.
d. Click on the Location drop down and select "signature" option.
2) Saving Signature to Database
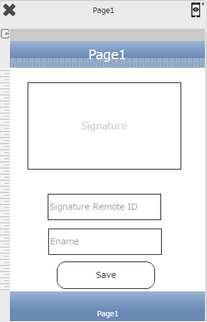
Step 1: Open a Free Layout Page.
a.Drag an Image View , two TextFields, RoundButton UI part and drop it on the Page.
b.Set Image View Location property as "signature".
c.First TextField is for receiving Remote Id of Signature. (Remote Id is received on applying "Upload Media" action)
d.In Second TextField , user can enter name corresponding to the signature.
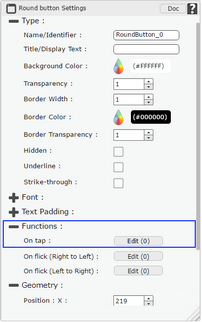
e.Browse to the "Functions" section on "Properties Palette window" of "Save" RoundButton for applying actions.
f.Click on the corresponding Edit(0) button of the Function on which user wants to apply the Action. To know more about the Functions click here.
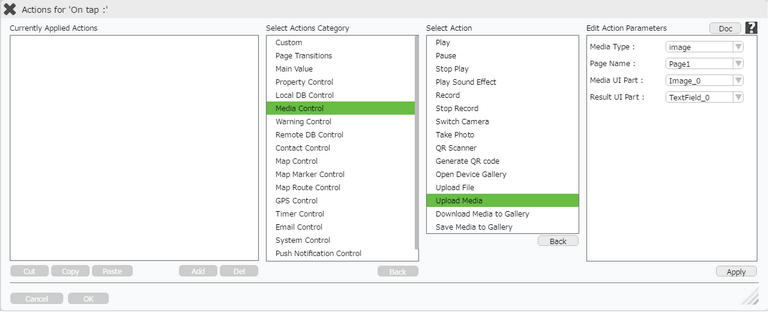
Step 2: Click on the "Media Control" to apply “Upload Media” action.
Enter Action Parameters:
Parameter |
Description |
Media Type |
Select the Image View UI Part from the Dropdown. |
Page Name |
Select Page Name from the Dropdown. |
Media UI Part |
User can select the Media Type as "Image" or "Sound". |
Result UI Part |
Select the UI Part Name which will contain the reference Id received while uploading the file. |
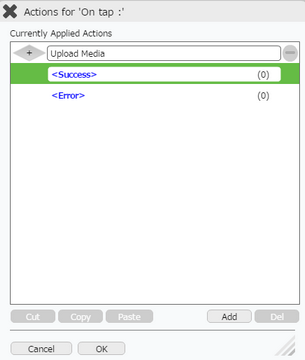
Step 3: The “Upload Media” action is applied. Click on "+" sign on on the right to apply action on "success" event.

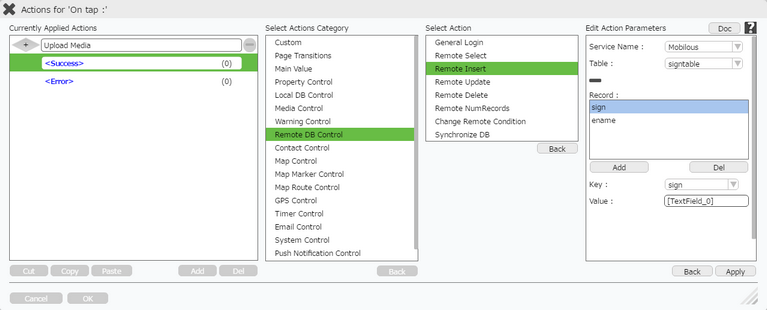
Step 4: Click on the "Remote DB Control" to apply “Remote Insert” action.
Enter Action Parameter:-
Parameter |
Description |
Service Name |
Select Mobilous from the Dropdown option for RemoteDB table. |
Table |
Select Table Name as "signtable". |
Record |
Define the Record.Click on Add to add table field name.To know more about the record click here. |
Key |
Name of the field of the table in the Remote DB For e.g "sign" , "ename". |
Value |
Name/Identifier of the TextField UI part on the page from where value has to be fetched, in square bracket i.e "[TextField_0]","[TextField_1]" . |
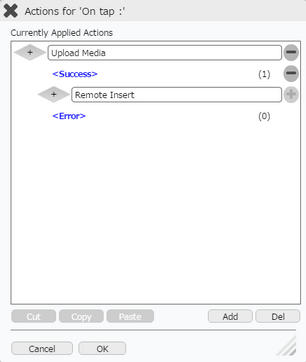
Step 5: "Success" event is applied. Following action will save the signature ID in the database.
Note: Signature feature is not available on free scroll page.