Plugin Manager |
  
|
Plugin Manager |
|
A plug-in is an an add-on software component that allows the appexe application to communicate with an external cloud Database. Below steps shows example of connecting with a Salesforce database.
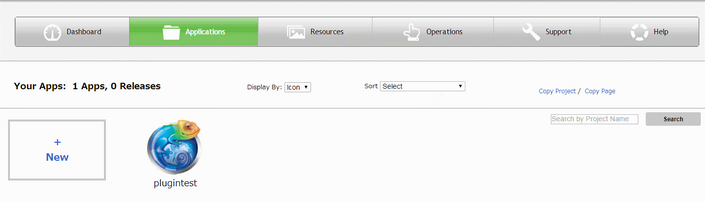
Step 1: Click on the Project icon.
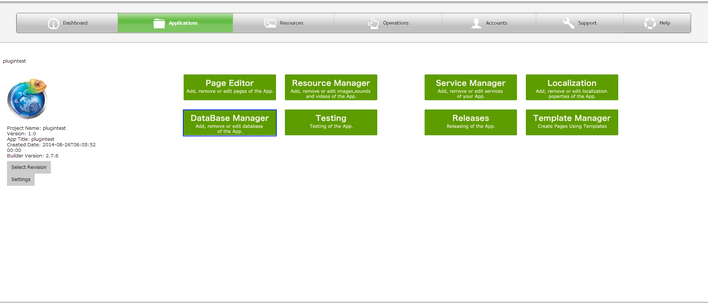
Step 2: Click on "Database Manager" on the Application Manager page.
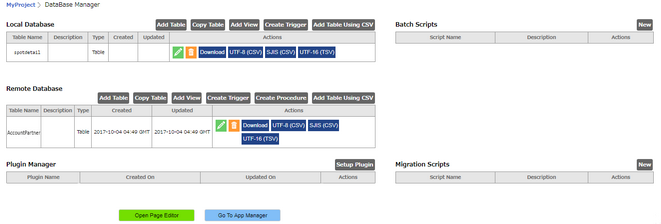
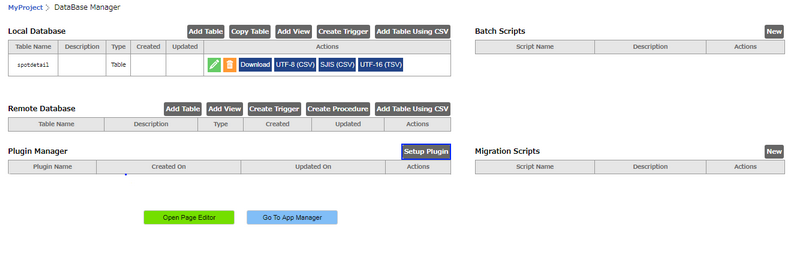
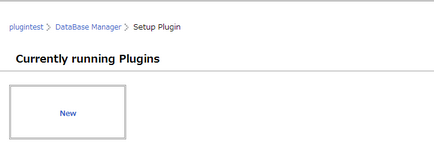
Step 3: Click on "Setup Plugin" as shown in the image.
Step 4: Click on the "New" to create a plugin.
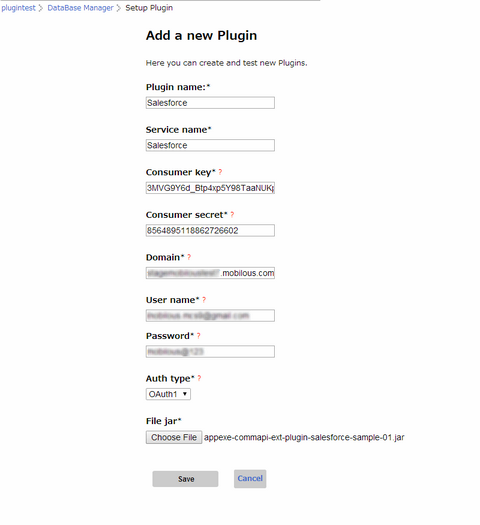
Step 5: Following window opens. Fill in the details below.
Parameter |
Description |
Plugin name |
Enter name of the Plugin for e.g "Salesforce". |
Service Name |
Enter the Service name. This Service name should be same as in the "Call Back URL" while creating the Plugin. |
Consumer Key |
Enter the Consumer Key. It is the key or username of a consumer application that has been registered with the Plugin service provider. |
Consumer secret |
Enter Consumer secret.It is the “password” for the consumer application. |
Domain |
Domain is the URL of the User Instance e.g sample.mobilous.com |
User Name |
Provide a username for the Plugin. |
Password |
Provide a Password for the Plugin. |
Auth Type |
Select Auth Type for authentication. |
File Jar |
Select the Plugin i.e the .jar file. |
Click here to know more about the Plugin Parameters.
Click on Save Button. A wait indicator appears untill the plugin is created.
Step 6: Plugin is created and listed under Plugin Manager. Click on "Setup Plugin" to use the plugin.
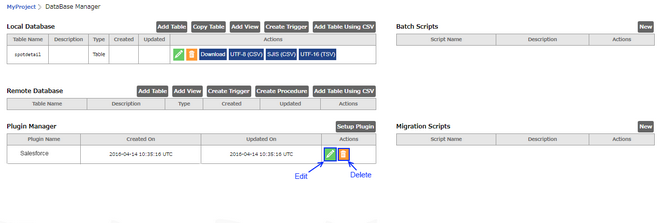
Note: User can Edit or Delete the Plugin by clicking on the respective icons as shown in the image above.
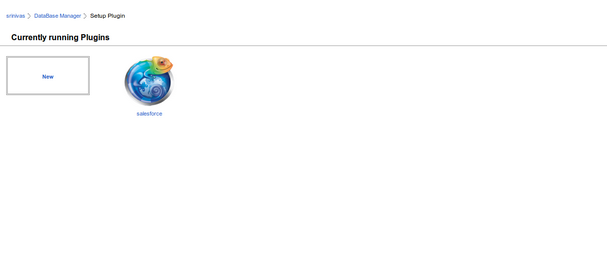
Step 7: Plugin is listed as shown below. Click on the Plugin.
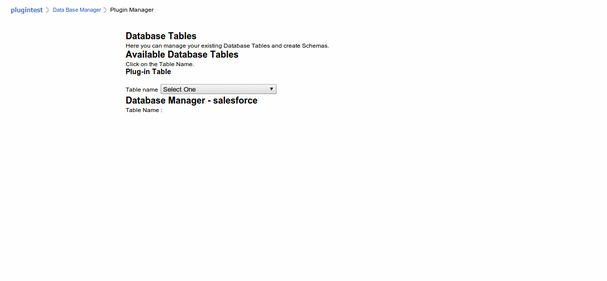
Step 8: Below window opens. User might need to provide the Login Credentials while opening the Plugin depending upon the plugin. Select the required table from the list of tables.
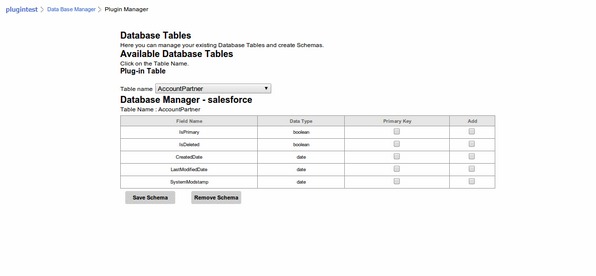
Step 9: All the fields of table are displayed below.
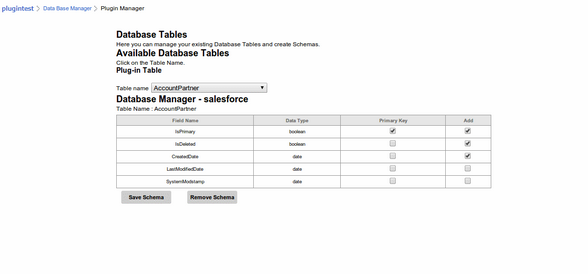
Step 10: Select the required fields and click on "Save Schema" as shown below.
Step 11: The table is added to the Remote Database section as shown below.