Upload |
  
|
Upload |
|
Upload option in the Menubar allows the user to upload images to be used in the Application. All these images get uploaded in the Cloud. Follow below steps to know more.
Step1: Click on the Upload and select Image from AppExe Menu Bar.

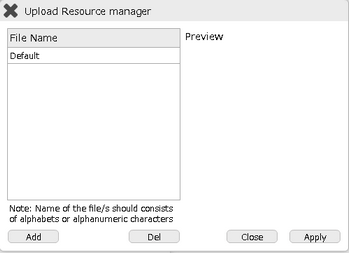
Step2: Upload Resource Manager window will open. To add or upload a new image click on the Add button.
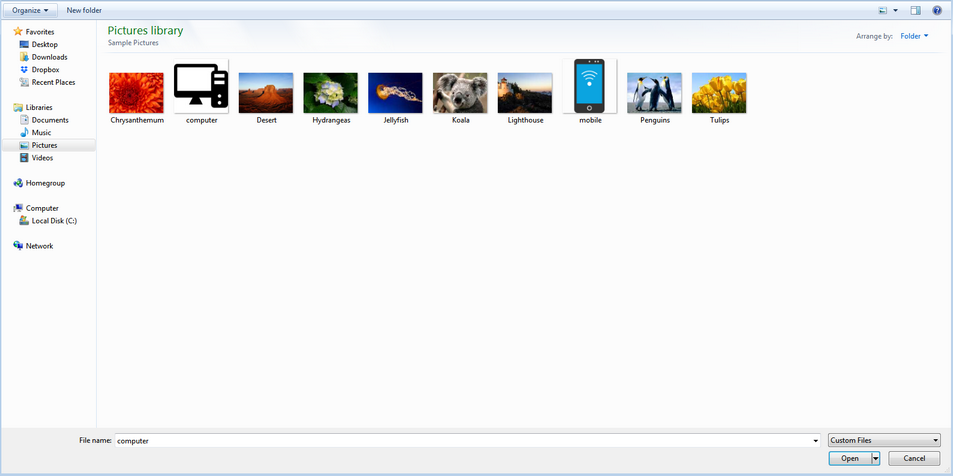
Step 3: Browse and select the required Image and Click Open.
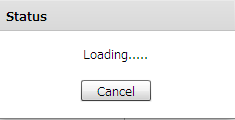
Step 4: After selecting the image a status window will appear showing that image is uploading.
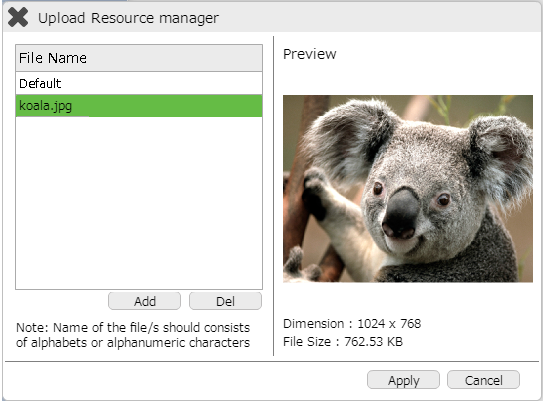
Step 5: When image upload completes, the image appears in the list. User can upload any number of images in their application.
•Click on the image and click "Apply" button to set this selected image on some UI Part.
•To remove any image file from the list, select the file and then click the “Del” button.
•To Close the Upload resource manager window, click on “Close” button.
Note:
1. If user selects “Default” option from the list of images, the selection is cleared and any image applied on UI Part is removed.
2. The name of the file should consists of alphabets or alphanumeric characters.
3. For Android: Image Name should be a-z 0-9, eg alpha1.png.
Other Image Names like
a) icon.png (default android icon filename)
b) Upper case on filename and ext. name. eg ALPHA. PNG
c) Numeric filename e.g 123.png
d) Other characters aside from a-b 0-9 like @lph!.png
e) CJK (Chinese, Japanese and Korean) characters
are not supported.
4.User can also upload the image from “Resource Manager”