Update Record |
  
|
Update Record |
|
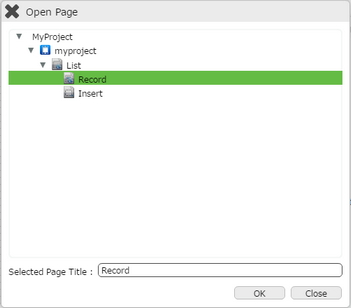
Step 1: Click "Open" from the File Menu. Click on Record page and click "OK".
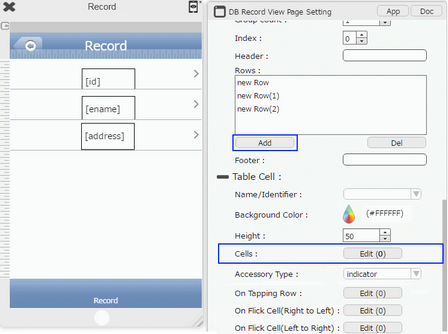
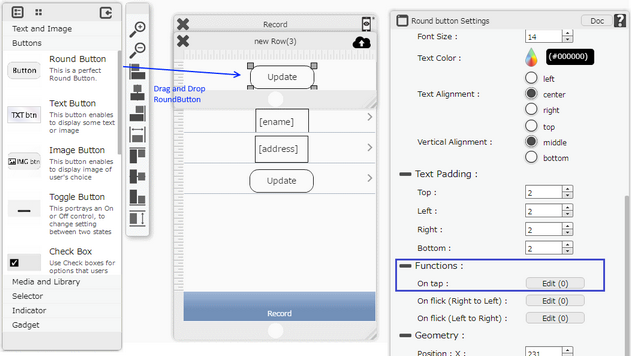
Step 2: Click on "Add" to add a Row to the Record Page on the Properties Palette window. Click on Edit(0) button corresponding to Cells, to Edit Cell.
Step 3: Drag and Drop RoundButton on the cell. Set Display Title as "Update". Click on Edit(0) button of the "Update" RoundButton corresponding to "on tap" function.
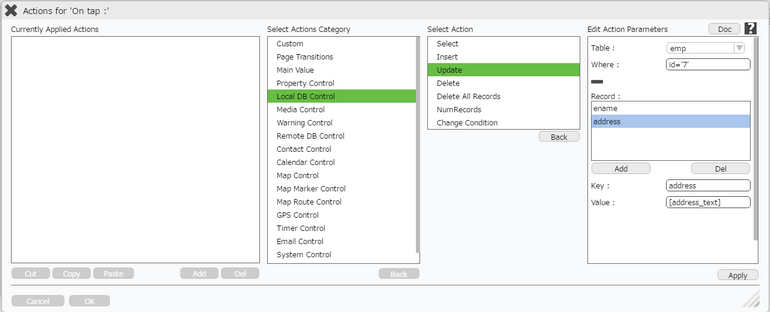
Step 4: Actions window open. Select "Local DB Control" Actions Category, click on "Update" Action.
Enter Action Parameters:
Parameter |
Description |
Table |
Select Table Name For e.g "emp". |
Where |
User can also specify the where condition to filter the records. The syntax of where condition is like "Fieldname='value'" which is a SQLite3's where syntax. Field Name: Name of the database table field. Value: Data from the table record. For Example: id='7'. |
Record |
Define the Record. Click on Add to add table field name. To know more about the record click here. |
Key |
Name of the field of the table in the Local DB For e.g "id" , "ename". |
Value |
Name given to the TextField UI part on the page from where value has to be fetched, in square brackets. like "[TextField1]","[TextField2]". e.g "[id_text]", "[ename_text]", "[address_text]" |
Click apply.
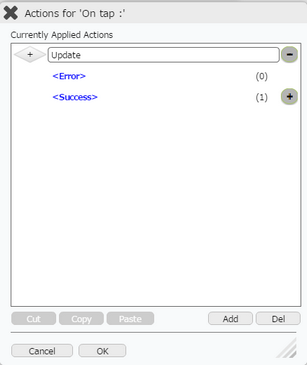
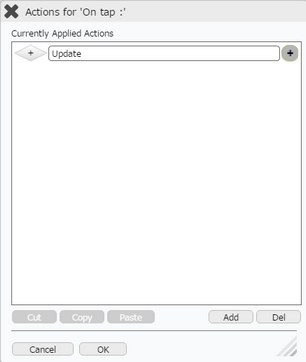
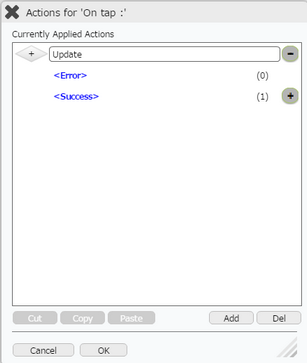
Step 5: Update action is applied as shown in the image below. Click on the "+" Action Event Button on the right of the action to view the events.
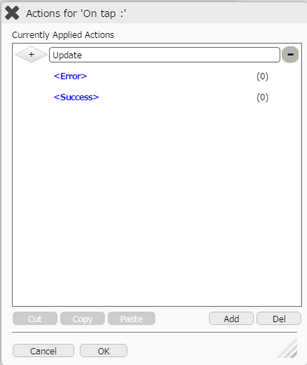
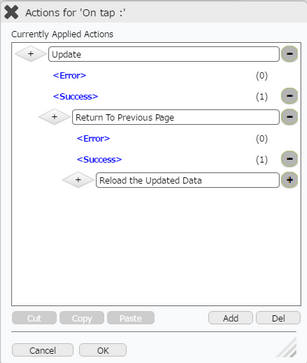
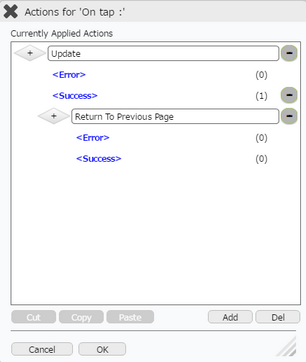
Step 6: Select "Success" event and click on "Add" button at the bottom. Select "Page Transition" Actions Category, click on "Return To Previous Page" Action.

Step 7: Return to previous page Success action is applied as shown in first image. Click on "+" Action Event Button on the right of this action to add another Success action. The events under "Return to previous page" action is displayed as shown in second image.
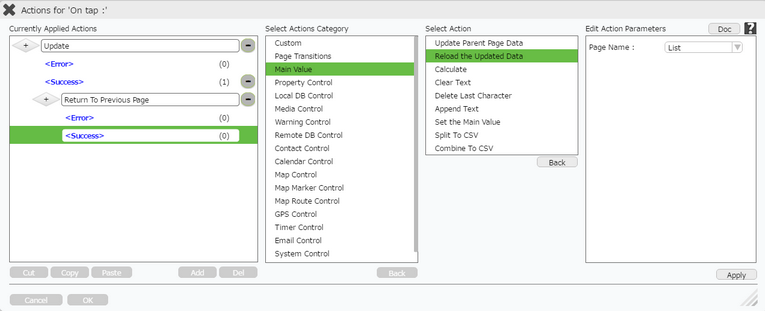
Step 8: Select "Success" event and click on "Add" button at the bottom to add action. Select "Main Value" Actions Category, click on "Reload the Updated Data" Action.
Enter Action Parameters:
Parameter |
Description |
Table Page |
Select the Target Page e.g "List" to get an updated list after updating record. |
Step 9: "Reload Update Data" action is applied on the "Success" event. User can click on the "+" Button on the right of the "Success" event to view the actions applied.