Gallery |
  
|
Gallery |
|
Tile List allows users to create Photo Gallery on the Application Page. To know more follow the steps below.
Step 1: Open a Free Layout Page.
a.Drag a Tile List UI part and drop it on the Page
b.Stretch the Tile List UI to full page size.
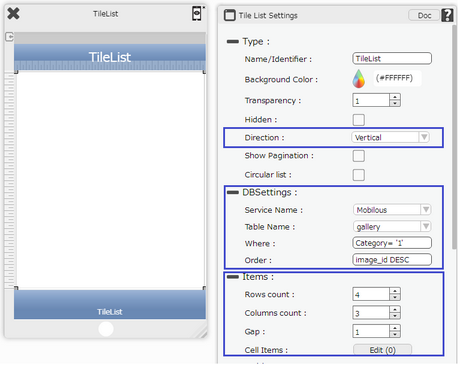
c.Set "Direction" property as "Vertical".
d.Set DB Setting property. Select Table name e.g "gallery" from where the images need to be fetched. User can give "where" and "order" property if any.
e.Set Items Rows count: 4, Columns count: 3, Gap: 1
f.Click on "Edit" Cell Item
Step 2: Drag Image View UI part and drop it on the Edit Cell window.
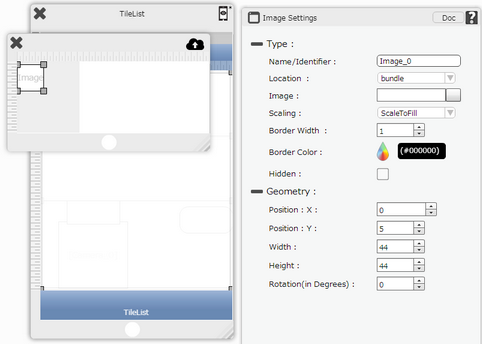
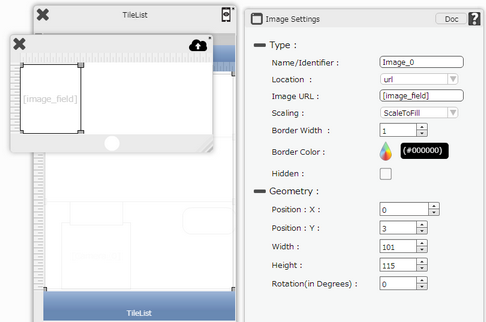
Step 3: User can Resize the Image UI part as the block on the background.
Set:
Location: URL
ImageURL : [image_field]
where "image_field " is the image field in the Database.
Close window.
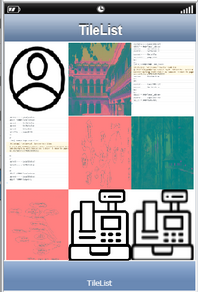
Step 4: The Image UI is present in all the cells as per the Rows and columns given in the Tile List.
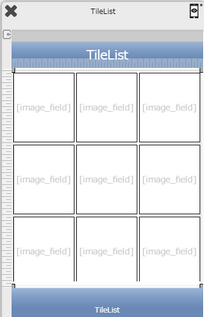
Step 5: Preview the Page . Observe the images from the database appear in the cells of the Tile List. User can scroll Down to see all the Rows.