Camera Picker |
  
|
Camera Picker |
|
The Camera Picker object is used for taking pictures and movies on supported devices through system-supplied user interface.
Step 1: To add a Camera click on the Media and Library tab in the UI toolbox.
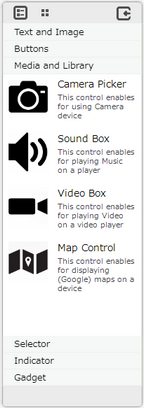
Step 2: Drag and drop the Camera Picker on the page.
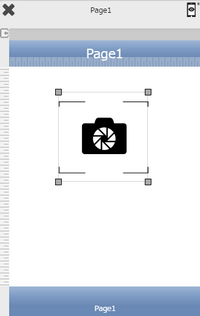
Step 3: When the user drags and drops a Camera Picker on the page, its properties appear automatically on the "Properties Palette window" on the right hand side. User can view the UI part properties by clicking on it's object figure whenever required. User can also edit each property to change the UI part object's figure as shown below.
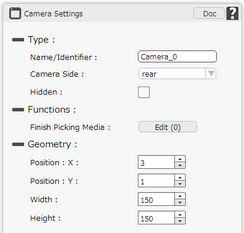
List of Properties:-
Property |
Description |
Type
|
|
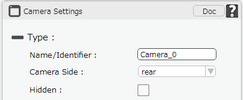
Name/Identifier |
This must be a unique name that will identify the Camera, user may use this name to call the Camera. |
Camera Side |
Allows user to select to take photo from Front or Rear Camera, that is user can switch the Camera sides. |
Hidden |
The Hidden property if checked will hide the Camera Picker UI on different runtimes or platforms. |
Functions
Functions act as trigger to launch the actions when a particular task is performed. To know more about Functions click here. |
|
Finish Picking Media |
Event will occur when user finishes clicking the picture using camera. |
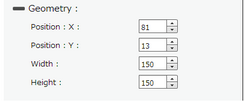
Geometry
|
|
Position : X |
Sets the position of Camera Picker on the page horizontally. |
Position : Y |
Sets the position of Camera Picker on the page vertically. |
Width |
Sets the width of Camera Picker on the page. |
Height |
Sets the height of Camera Picker on the page. |